
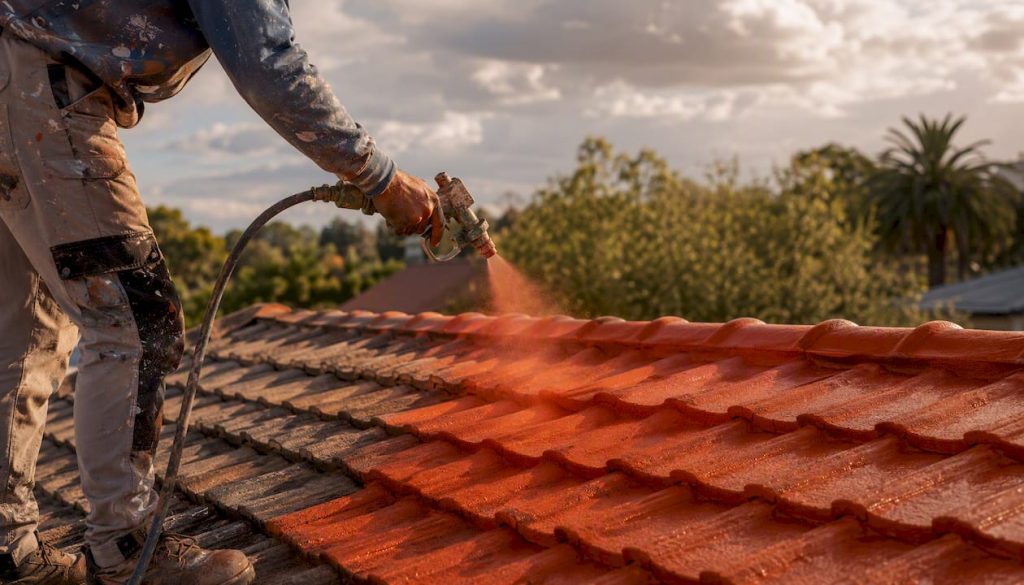
The condition of your tiles and the quality of your preparation determine whether that paint job lasts five years or fifteen.
- Concrete tiles: fully paintable with most acrylic roof coatings
- Unglazed clay tiles: paintable with the right primer and a breathable acrylic system
- Glazed or vitrified tiles: generally not suitable — the low-suction surface prevents adhesion
- Cracked, structurally failing, or heavily friable tiles: repair or replace before any paint goes on
When to DIY: single-storey roofs with a gentle pitch, good tile condition, and manageable moss coverage.
When to hire: anything steeper than roughly 25–30°, roofs higher than one storey, widespread friability, or complex penetrations like skylights and chimneys.
Skipping the biocide wash or painting over loose, sandy tile surfaces is the single most common reason coatings fail early.*
Key takeaways
| Point | Details |
|---|---|
| Product class matters | Choose a flexible acrylic breathable coating; confirm substrate compatibility in the TDS before buying. |
| Prep determines lifespan | Biocide wash, low-pressure clean, tile repairs, and primer before topcoat; skipping any step shortens coating life significantly. |
| Coverage and coats | Most roof tile coatings cover 5–6 m²/L per coat; two full coats is the standard minimum for a durable finish. |
| DIY vs professional lifespan | DIY with good prep: 5–10 years; professional application with thorough prep: 10–15 years. |
| Capeapexpainters | Offers prep-first, specification-backed roof painting across Cape Town, the Cape Winelands, and the Overberg with a full in-house team. |
Table of Contents
- Does your roof actually need painting right now?
- Real benefits of painting a tile roof in South Africa
- Which roof paints work for tile roofs in South Africa?
- Step-by-step surface preparation before painting tile roofs
- How to apply roof tile paint: methods, coats, and coverage
- Working at height: when is it time to hire a professional?
- How much does tile roof painting cost, and how long does it last?
- Why preparation-first is the only approach worth taking
- Capeapexpainters: professional tile roof painting in Cape Town and beyond
- Where to find technical data sheets and trusted how-to resources
- Sources
Does your roof actually need painting right now?
Before buying a single litre of paint, walk around your property and look up. A few clear signals tell you whether painting is the right move or whether you need repairs first.
Paint now if you see:
- Noticeably faded or patchy colour with no structural damage
- Light surface moss or algae that cleans off with a wash
- Slightly porous tiles that absorb water visibly after rain
- Mismatched tile patches from previous repairs
Repair or replace tiles first if you see:
- Cracked, slipped, or broken tiles
- Heavy friability (tiles crumbling or shedding grit when touched)
- Active water ingress into the ceiling below
- Thick, established lichen that has penetrated the tile surface
Painting over structural damage only masks the problem. A coating cannot bridge a cracked tile or stop water entering through a broken flashing.
Timing in South Africa: aim for the dry season, typically late summer through autumn (February through May in the Western Cape). You need at least two to three consecutive dry days for cleaning and curing, with temperatures between roughly 10°C and 35°C. Avoid painting in the Cape’s notorious south-easterly wind season — dust contamination and rapid, uneven drying both cause adhesion failures.
Real benefits of painting a tile roof in South Africa
The South African climate is genuinely hard on roof tiles. UV radiation at this latitude degrades unprotected surfaces faster than in northern Europe, coastal salt air accelerates surface erosion, and the Western Cape’s wet winters followed by dry, hot summers create thermal cycling that stresses tile surfaces year after year.
A quality acrylic roof coating addresses several of these problems at once:
- Reduced porosity: a sealed tile surface absorbs less water, which means less weight on the roof structure during heavy rain and less opportunity for moss and algae to take hold
- Algae and moss inhibition: most specialist roof coatings contain biocidal additives that slow biological growth significantly
- UV protection: acrylic coatings reflect a portion of UV radiation, slowing the degradation of the tile surface underneath
- Aesthetic renewal: faded, patchy roofs look dramatically better after two coats, and mismatched tile repairs blend in
Pro Tip: Lighter colours reflect more heat than dark ones — if your roof faces north and gets full sun, choosing a mid-tone or light colour can reduce the surface temperature of your tiles, which in turn reduces thermal stress on the coating itself.
One honest limit: a roof coating is not insulation. It will not meaningfully reduce indoor temperatures on its own, and it will not fix a roof that needs structural attention. Treat it as a weatherproofing and maintenance measure, not a renovation.
Which roof paints work for tile roofs in South Africa?
Rigid coatings crack; breathable ones allow moisture vapour to escape without lifting.
Three products worth checking locally:
SealPro RENEW is a durable acrylic tile roof coating marketed specifically for restoring weathered tiles. It is positioned to resist rain, UV, and ponded water. Check local stockists and request the TDS before buying — confirm substrate compatibility and recommended primer for your tile type.
Nippon Paint Roofpaint uses the manufacturer’s Roof Guard technology, which the manufacturer claims delivers improved adhesion, UV and heat reflection, anti-fungal performance, and over 15 years of anti-peel performance.
Paintcor is a South African supplier commonly referenced for tile roof painting products and guidance. Worth contacting directly to confirm what acrylic roof coatings they stock and whether they can supply a TDS for your specific tile type.
For reference, two products from the UK market illustrate what a well-specified flexible acrylic system should do: Polycote’s Roof Tile Coat bonds to concrete and fibre cement, reduces porosity, resists UV, and inhibits moss — available in 15 L drums. Everest Paints’ PremFlex is engineered to expand with thermal movement, remaining waterproof while breathable, which is exactly the performance profile South African coastal roofs need. These are not locally distributed, but their TDS specifications are a useful benchmark when evaluating what a South African product should offer.
| Comparison dimension | What to look for |
|---|---|
| Substrate compatibility | Concrete, fibre cement, unglazed clay — confirmed in TDS |
| UV and weather resistance | Stated UV resistance; heat-reflective pigments a bonus |
| Anti-fungal / anti-algae | Biocidal additive listed in TDS |
| Application method | Brush, roller, or airless spray — confirm nozzle range |
| Coverage (m²/L) and coats | Typically 5–6 m²/L; two coats minimum |
| Pack sizes and pricing | 15–20 L drums are standard; get local pricing from your stockist |
| Colour and reflectivity | Lighter colours = more heat reflection |
| Warranty / TDS | Look for a product data sheet with substrate list and drying times |
The TDS is your single best tool for verifying any product claim. Check the substrate compatibility list, the recommended primer, the coverage rate, the minimum drying time between coats, and the spray tip/pressure range if you plan to use airless equipment. A product that cannot supply a TDS should be avoided.
Step-by-step surface preparation before painting tile roofs
Good preparation is what separates a coating that lasts a decade from one that peels in two years. Follow this sequence:
- Inspect from the ground and from a safe ladder position. Identify cracked, slipped, or missing tiles. Check flashings around chimneys, skylights, and valleys. Note any areas of heavy biological growth.
- Replace or secure damaged tiles. Cracked tiles should be replaced before any coating goes on. Slipped tiles need re-bedding. Friable tile surfaces — those that shed grit when you rub them — need a penetrating primer/binder applied before the topcoat.
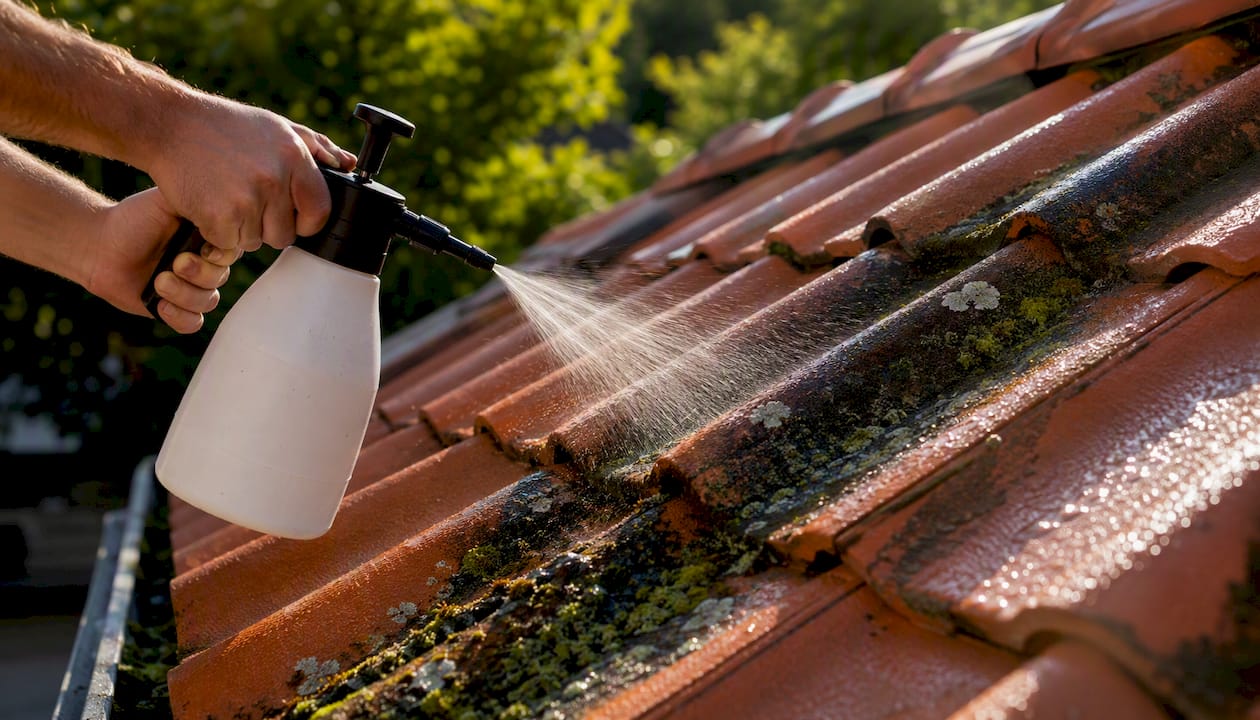
- Apply a biocide or fungicidal wash. Spray or brush a diluted biocidal solution over the entire roof surface and allow it to dwell for the manufacturer’s recommended period (typically 24–48 hours). This kills moss, algae, and lichen at the root rather than just removing the visible growth.
- Low-pressure wash the roof. Use a pressure washer set to a low-to-medium setting — enough to remove dead growth, dirt, and loose material without blasting the tile surface or forcing water under tiles. High pressure can damage aged concrete tiles and dislodge ridge mortar.
- Allow the surface to dry completely. In the Western Cape, two to three dry days is usually sufficient. Check the TDS for the minimum moisture content or drying period the manufacturer specifies before priming.
- Apply a bonding primer where needed. Clay tiles and any low-suction surfaces need a compatible bonding primer to give the topcoat something to grip. Even on concrete tiles, a universal roof primer improves adhesion and reduces the topcoat’s absorption rate, which means better coverage per litre.
- Protect gutters, skylights, and adjacent finishes. Mask off gutters with plastic sheeting — paint residue in gutters blocks drainage. Cover skylights and any painted fascia boards before you start.
Pro Tip: After the biocide wash, do not pressure-wash immediately. Let the biocide work for the full dwell time first. Washing too soon removes the chemical before it has killed the growth at the root, and the moss comes back within months.
How to apply roof tile paint: methods, coats, and coverage
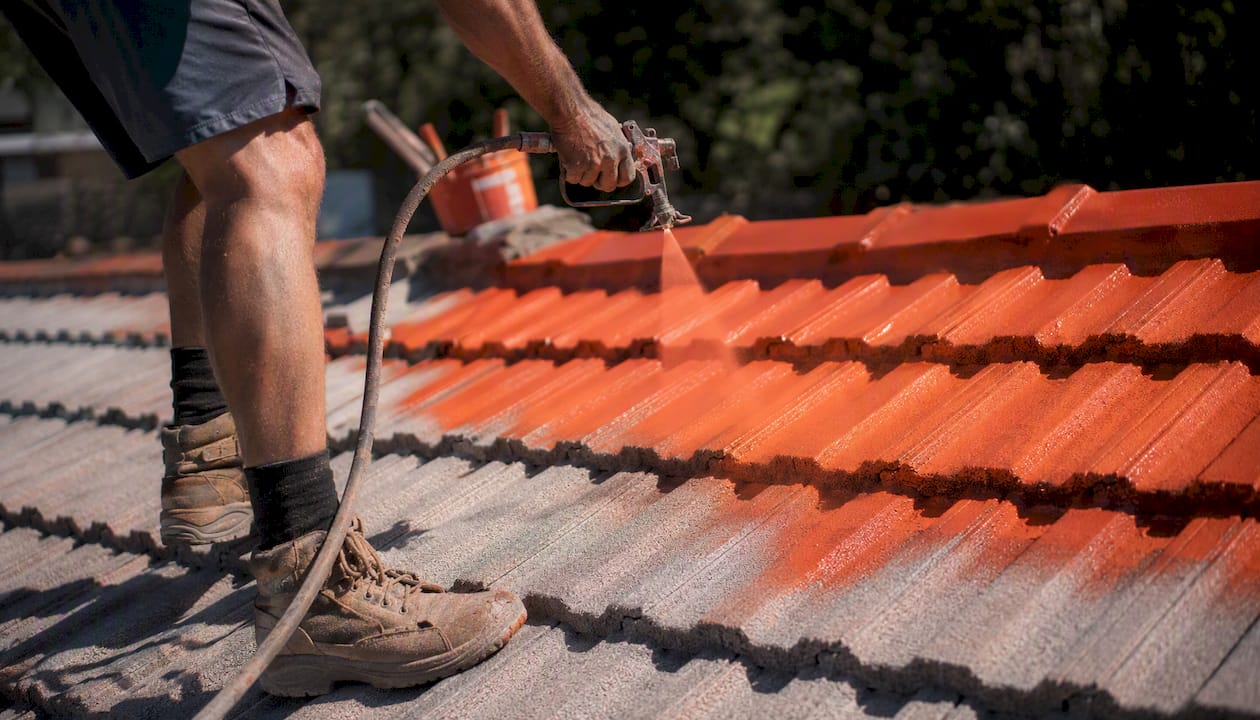
Brush works for small repairs and edge work. Roller suits smaller roofs or sections where spray is impractical. Airless spray is the preferred method for full roof applications — it delivers a more even film thickness across textured tile profiles and gets paint into recesses that a roller misses. Check the product TDS for the recommended nozzle size and pressure range; most roof tile coatings specify a tip in the 0.017–0.021 inch range at 150–200 bar, but confirm this for your specific product.
Calculating how much paint you need:
Roof area (m²) ÷ coverage rate (m²/L) × number of coats = litres required
Example: a 120 m² roof, coverage of 5–6 m²/L, two coats:
120 ÷ 5.5 × 2 = approximately 44 litres.
Two full coats is the standard recommendation across most manufacturer TDS documents. Apply the first coat, allow it to dry fully (check the TDS — typically four to six hours in dry conditions), then apply the second coat in the opposite direction to the first for even coverage. Allow the full cure period before rain or foot traffic.
Common defects to avoid:
- Sagging: caused by applying too thick a coat in one pass; thin slightly if the product allows and use multiple passes
- Orange peel texture: usually a spray pressure or tip-size issue; adjust per TDS
- Poor adhesion: almost always a prep failure — inadequate cleaning, skipped primer, or painting onto a damp surface
Equipment checklist: safety harness and lanyard, roof ladder with a ridge hook, airless sprayer or roller frame with extension pole, 9 mm nap roller sleeves for textured tiles, masking tape and plastic sheeting, mixing paddle, PPE (goggles, gloves, dust mask for dry sanding).
Coverage note: Many roof tile coatings achieve around 5–6 m² per litre per coat, but this figure varies by tile texture and porosity. Always use the product-specific m²/L figure from the TDS, not a generic estimate.
Working at height: when is it time to hire a professional?
Falls from roofs are among the most serious DIY injuries. Moss-covered tiles are slippery even when dry, and aged concrete tiles can crack underfoot if you step in the wrong place. Professional teams use harnesses, roof ladders, and fall-arrest systems that protect both the worker and the tile surface — equipment most homeowners do not own and are not trained to use correctly.
Hire a professional when:
- The roof pitch exceeds roughly 25–30° (steeper than a comfortable walking angle)
- The roof is higher than one storey above ground level
- Tiles are friable, slipped, or structurally compromised
- There is widespread moss or lichen requiring professional biocide treatment
- The job involves complex penetrations (multiple chimneys, skylights, solar panel brackets)
- Your home insurance or body corporate rules require licensed contractors for roof work
What a proper professional quote should include:
- A diagnostic assessment of tile condition and substrate type
- Specified products (primer and topcoat, with TDS references)
- Access method (scaffolding, roof ladder, cherry picker) and associated cost
- Number of coats and estimated coverage
- Health and safety plan
- Warranty on workmanship
When comparing contractor quotes, the specification detail matters more than the headline price. A quote that names the primer, the topcoat, the number of coats, and references the TDS is a quote from someone who knows what they are doing. A quote that just says “paint roof — two coats” tells you nothing about what you are actually getting.
Capeapexpainters operates with a full in-house team across Cape Town, the Cape Winelands, and the Overberg. Their roof painting service starts with a diagnostic assessment of the substrate before any product is specified — the kind of prep-first approach that determines whether a coating lasts five years or fifteen.
How much does tile roof painting cost, and how long does it last?
Coverage and quantities: most specialist roof tile coatings achieve around 5–6 m² per litre per coat.
Pack sizes: 15–20 L drums are the standard trade size for roof coatings in South Africa. Pricing varies by brand and stockist — get current quotes from your local supplier or directly from the manufacturer’s authorised distributor. Nippon Paint and SealPro products are available through hardware and paint retailers nationally; Paintcor can advise on local availability.
Lifespan expectations:
| Application type | Expected lifespan | Key factors |
|---|---|---|
| DIY, good prep | 5–10 years | Prep quality, product choice, UV exposure |
| Professional, thorough prep | 10–15 years | Substrate repair, primer, two coats, climate |
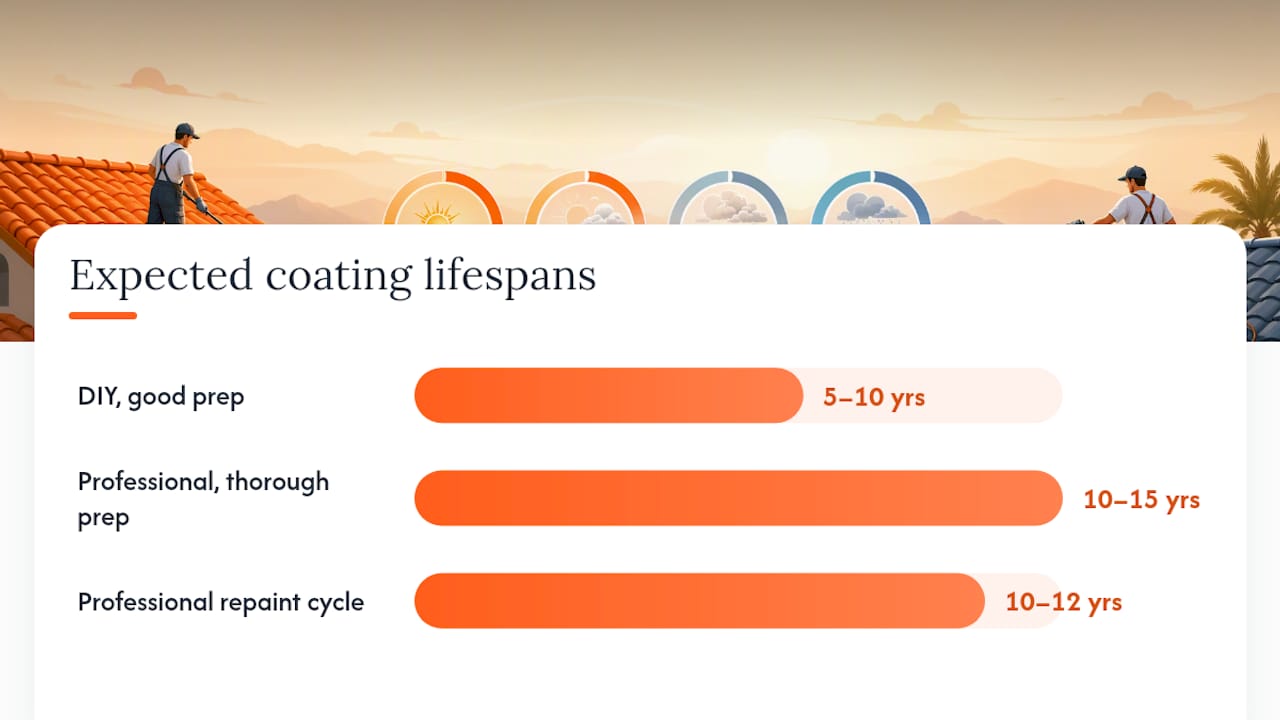
A well-prepared roof tile coating can last over 10 years with correct preparation and application. In coastal Western Cape conditions — salt air, high UV, and significant thermal cycling — the lower end of those ranges is more realistic without professional-grade prep and a quality acrylic system.
Cost breakdown (DIY vs professional):
- DIY materials: biocide wash, primer, topcoat (two coats), consumables (rollers, brushes, masking) — the dominant cost is paint volume
- DIY access: roof ladder hire or purchase; scaffolding hire for anything above single storey
- Professional labour: includes access equipment, skilled applicator hours, and waste disposal
- Professional materials: often trade-priced, which partially offsets the labour cost
The repaint cycle for a professionally applied coating in South Africa typically recurs every 10–12 years under normal conditions. Poor prep, coastal salt exposure, or a north-facing roof with high UV load can shorten that to seven to eight years.
Why preparation-first is the only approach worth taking
Most coating failures on tile roofs are not product failures. They are prep failures. A coating applied over a dirty, biologically active, or friable surface will delaminate — sometimes within a single wet season. The paint itself is almost never the weak link.
The approach that consistently delivers long-term results is straightforward: inspect thoroughly, repair what is broken, kill what is growing, prime what is porous, and then apply a quality flexible acrylic system in two full coats. That sequence is not complicated, but it requires time, the right products at each stage, and honest assessment of what the substrate actually needs.
For homeowners in Cape Town, the Winelands, and the Overberg, the coastal and UV conditions here are more demanding than the temperate climates most product TDS documents are written for. That means the prep standard needs to be higher, not lower, than the manufacturer’s minimum recommendation.
Capeapexpainters’ in-house team carries out a diagnostic surface assessment before specifying any product — because the right coating for a north-facing Stellenbosch roof in full sun is not necessarily the same as the right coating for a salt-exposed Hermanus property. If you want an in-person assessment and a specification-backed quote, contact Capeapexpainters to arrange a site visit.
Capeapexpainters: professional tile roof painting in Cape Town and beyond
Skipping prep and applying paint directly to weathered tiles is exactly how a R8,000 coating job turns into a R15,000 remediation two years later. Capeapexpainters exists to prevent that outcome.

Their full-time, in-house team handles the complete process: biocide treatment, low-pressure washing, tile repairs, priming, and two-coat application of a specified acrylic roof coating — all matched to the Western Cape’s specific UV, salt air, and thermal cycling conditions. No subcontractors, no guesswork on product selection, and a prep-first approach that is backed by a proper diagnostic assessment before a single litre of paint is ordered.
Capeapexpainters serves homeowners, body corporates, and estate managers across Cape Town, the Cape Winelands, and the Overberg. If your roof needs attention, the right next step is a site visit and a specification-backed quote. Request a quote from Capeapexpainters and get a clear picture of what your roof actually needs before committing to any product or approach.
Where to find technical data sheets and trusted how-to resources
Before buying any roof coating, download and read the product TDS. Here is where to look:
- Nippon Paint Roofpaint TDS: available on the Nippon Paint product page — check substrate list, coverage rate, drying times, and anti-fungal claims
- Polycote Roof Tile Coat: the Polycote product page lists unsuitable substrates explicitly and gives application method guidance
- Polycote step-by-step guide: the Polycote how-to guide covers safety, coat counts, and lifespan expectations in practical terms
- Everest PremFlex TDS: the Everest Paints product page explains elasticity and breathability — useful as a benchmark for what a quality flexible system should specify
- Beesley & Fildes how-to guide: a practical consumer guide covering coverage estimates, timing, and DIY vs professional lifespan ranges
- SealPro RENEW and Paintcor: no direct TDS URLs are publicly listed here — contact local paint retailers or Paintcor directly to request product data sheets and confirm authorised stockists in your area
What to look for in any TDS: the substrate compatibility list (does it name your tile type?), the recommended primer, the coverage rate in m²/L, the minimum drying time between coats, the recommended spray tip size and pressure if you plan to spray, and any stated warranty or performance period.
Confirm that your chosen product is available through an authorised South African distributor before ordering. Trade pricing and pack availability can differ significantly from what is listed on international manufacturer websites.