
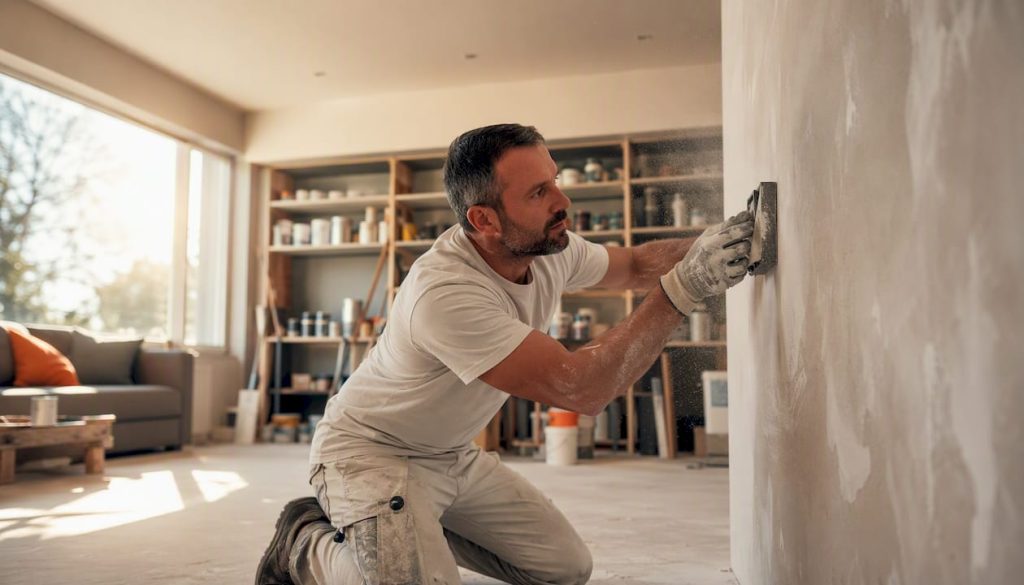
Clean, dry, sound, profiled, repaired, and primed. That’s the sequence, and skipping any one of those five steps is why paint peels, blisters, or chalks off long before it should. If you remember nothing else from this guide, remember that order.
Before you open a can, run through this:
- Wash the surface and remove all dirt, grease, salt, or mildew.
- Scrape and sand away any loose, flaking, or blistered paint until edges are tight.
- Create the right surface profile so the new coat has something to grip.
- Fill holes, patch cracks, and let repairs cure fully.
- Check moisture and temperature before you touch a brush to the wall.
- Prime any bare, patched, glossy, or stained area.
That last checklist item matters more than most people think. Industry data indicates a large majority of coating failures trace back to inadequate surface preparation, not bad paint or bad application technique, according to Sherwin-Williams’ guidance for architects and specifiers. Three checks separate a rushed job from a durable one: the ASTM D3359 crosshatch adhesion test, the ASTM D4263 plastic-sheet moisture test, and SSPC/ISO blast cleanliness grades for metal. Learn those three and you’ll catch most problems before they become expensive ones.
Key Takeaways
Paint failure is overwhelmingly a preparation problem, not a paint problem, and every step from cleaning to priming exists to prevent one specific type of failure.
| Point | Details |
|---|---|
| Inspect before acting | Check for flaking, chalking, rust, mildew, and moisture staining to choose the right prep path. |
| Clean with the least aggressive method | Escalate from water to detergent to solvent only as the contamination actually requires. |
| Remove unsound material fully | Feather edges smooth so repairs don’t telegraph through the new topcoat. |
| Test moisture and adhesion | Use the ASTM D4263 plastic-sheet test and an ASTM D3359 crosshatch check before committing to a full coat. |
| Prime every bare or patched area | Match primer type to substrate, whether wood, metal, drywall, or masonry, from brands like Dekro, Plascon, or Dulux. |
| Call a professional for scale or hazard | Cape Apex Painters runs diagnostic assessment and prep-first repairs before any quote for larger or coastal jobs. |
Table of Contents
- What surface preparation for painting actually means
- Step 1: Inspect the surface before you decide anything
- Step 2: Clean the surface properly for the contamination you actually have
- Step 3: Remove loose paint, rust, and anything that isn’t sound
- Step 4: Create the right surface profile
- Step 5: Repair damage before you profile or prime
- Step 6: Check moisture and temperature before you paint
- Step 7: Choose the right primer for the substrate
- Step 8: Test adhesion before you commit to the full job
- What tools, materials, and PPE you actually need
- The most common surface prep failures, and how to fix them
- When a professional makes more sense than DIY
- Quick recap before you open a can of paint
- A practitioner’s note on prep in a tough climate
- If you’d rather hand the prep work to a full-time crew
- Frequently asked questions
- Sources
What surface preparation for painting actually means
Surface preparation for painting is the full sequence of cleaning, profiling, repairing, and testing a substrate so a new coating can physically and chemically bond to it. It’s not just “wiping the wall down.” It’s the difference between paint that lasts eight years and paint that bubbles off in eight months.
Paint adhesion depends on three things happening at once: mechanical interlock (the coating keying into microscopic surface texture), wetting (the liquid paint spreading evenly across the surface without beading or resisting), and chemical bonding (molecular attraction between the coating and substrate). Roughening a surface increases the contact area available for that mechanical interlock, but only if the paint can actually wet the roughened surface, according to SpecialChem’s technical breakdown of adhesion theory. Sand a surface to the perfect profile and then leave grease on it, and you’ve accomplished nothing. Dust, oil, and old wax all block wetting even on a beautifully profiled substrate.
This is why professional specifications reference standards instead of gut feel. The ASTM D3359 crosshatch test gives contractors a repeatable number (a rating from 5B to 0B) instead of a subjective “looks fine to me.” SSPC and ISO blast grades do the same thing for metal surfaces, giving a shared vocabulary between painter, specifier, and inspector. When you’re relying on a description like “clean the wall,” you’re skipping the part of the industry that actually prevents callbacks.
Step 1: Inspect the surface before you decide anything
Look and touch before you plan. Run your hand across the surface and check for flaking, chalking (a powdery residue that rubs off on your fingers), rust, mildew spots, oily sheen, or a white crusty buildup called efflorescence on masonry. If the existing coating is loose anywhere, or if you find rust, scale, or biological growth, plan for a removal step. If the surface is simply dirty but otherwise sound, cleaning and profiling alone might be enough.
Work through this diagnostic list before touching a scraper:
- Flaking or peeling paint — indicates adhesion failure somewhere in the coating history; plan for removal to a sound edge.
- Chalking — a dusty residue on your hand means the old coating has degraded from UV exposure; wash thoroughly before recoating.
- Rust or scale on metal — needs mechanical removal (sanding, wire brush, or blasting) down to sound metal.
- Mildew or algae growth — dark spotting, especially in shaded or damp areas, requires a bleach solution treatment, never just paint-over.
- Oil, grease, or wax residue — often invisible until you notice paint beading or fisheyeing; needs a solvent clean.
- Efflorescence on concrete or brick — a white mineral deposit signaling moisture movement through the substrate; must be dry-brushed off and the moisture source addressed.
- Calcimine or unknown old coatings — common in older homes; test-patch before committing to full removal or recoat.
- Moisture staining — brown or yellow rings on interior walls point to an active or past leak that needs fixing first.
Two quick field tests settle most uncertainty. The plastic-sheet moisture test, formalized as ASTM D4263, involves taping an 18-inch square of clear plastic to the surface, sealing all four edges, and leaving it for 16 to 24 hours. Condensation under the plastic or a darkened patch on the substrate means the surface is too wet to coat. The second test is simpler: a small adhesion test patch, where you clean, prime, and topcoat a two or three-square-foot section and check it after a few days before committing to the whole job. If you’re dealing with an older building and you’re not sure what coating is already on the wall, always test-patch first. Old alkyd paint under new latex, for instance, can cause adhesion problems that only show up after you’ve painted the entire room.
Step 2: Clean the surface properly for the contamination you actually have
Start with the least aggressive method that removes the problem, then escalate only if needed. A plain water rinse handles light dust. Detergent and water handles most household grime. Solvent cleaning handles oil and grease. Pressure washing or wet blasting handles heavier exterior buildup, salt film, and chalking. Jumping straight to pressure washing on a lightly dusty interior wall is overkill, and it can drive water into places you don’t want it.
Here’s the cleaning sequence broken down by what you’re actually dealing with:
- General household dirt and dust — wash with a mild detergent solution, rinse with clean water, and let dry fully before sanding or priming.
- Kitchen grease and cooking residue — use a degreasing cleaner or TSP substitute, working in sections, then rinse thoroughly. A greasy film left behind is one of the most common causes of peeling in kitchens.
- Salt-contaminated exterior surfaces — near the coast, salt crystallizes into the substrate and re-emerges after a single rinse. Wash, let dry, and wash again a day or two later to catch salt that wicks back to the surface.
- Mildew and algae — apply a diluted bleach solution (roughly one part bleach to three parts water), let it sit for ten minutes, scrub, and rinse completely. Benjamin Moore’s prep guidance is clear that mildew must be physically removed, not just painted over, or it grows straight through the new coat.
- Oil and grease on metal or trim — solvent cleaning per SSPC-SP1 standards is the accepted method, using a solvent that dissolves the oil without leaving its own residue, according to Sherwin-Williams’ contractor resources.
Wear gloves and eye protection for any detergent or bleach work, and add a respirator rated for organic vapors when using solvent cleaners indoors or in enclosed spaces. Bleach solutions need runoff contained away from plants and storm drains. If you’re pressure washing, check local rules on wastewater runoff, especially if the old coating might contain lead.
Pro Tip: For coastal properties, don’t trust a single wash. Salt re-crystallizes as the surface dries, so clean, let it dry for a full day, then wipe with a clean damp cloth and check for a white residue before you sand or prime. Skipping this second pass is the single most common reason coastal repaints fail within two years.
Step 3: Remove loose paint, rust, and anything that isn’t sound
The goal is simple to state and harder to execute: remove everything that’s unsound, and leave everything that’s tightly adhered. You don’t need to strip a wall to bare material for a maintenance repaint. You need the remaining coating to pass an adhesion check, and the edges of any removed sections to be feathered smooth so they don’t telegraph through the new paint.
Different removal methods suit different situations, and picking the wrong one either wastes your weekend or damages the substrate underneath:
- Hand-scraping — cheap, controllable, ideal for small areas of loose paint on wood or trim; slow on large surfaces.
- Sanding — good for feathering edges after scraping and for dulling glossy finishes; generates fine dust that needs containment, especially with older paint layers.
- Chemical strippers — effective on detailed millwork or when you need to avoid damaging soft wood; require ventilation and careful disposal of the sludge.
- Abrasive blasting — fast and thorough on metal and masonry, achieves a consistent profile in one pass; needs containment, generates significant waste, and typically requires specialized equipment.
- Power sanders and wire wheels — faster than hand tools for medium areas, but aggressive enough to gouge soft substrates if you’re not careful.
Full removal is necessary when the coating is failing across a large percentage of the surface, when there’s incompatibility between old and new coating chemistry, or when rust has undermined adhesion across a wide area. Feathering to a sound edge is the right call when failure is localized. For rust, chemical rust converters work on light surface rust; heavier rust or scale usually needs mechanical removal or blasting down to a defined metal grade before priming.
One category deserves its own warning: if you suspect the existing paint might be lead-based, which is common on properties with coatings applied before lead paint bans took effect, don’t sand or dry-scrape it. Disturbing lead paint releases hazardous dust. The U.S. EPA’s lead guidance covers testing kits, safe handling, and certified remediation contractors, and it’s worth consulting before you do anything else. Beyond lead, large areas, confined spaces, and any blast cleaning work are all situations where hiring a contractor with proper containment and disposal equipment costs less in the long run than the cleanup from doing it wrong yourself.
Step 4: Create the right surface profile
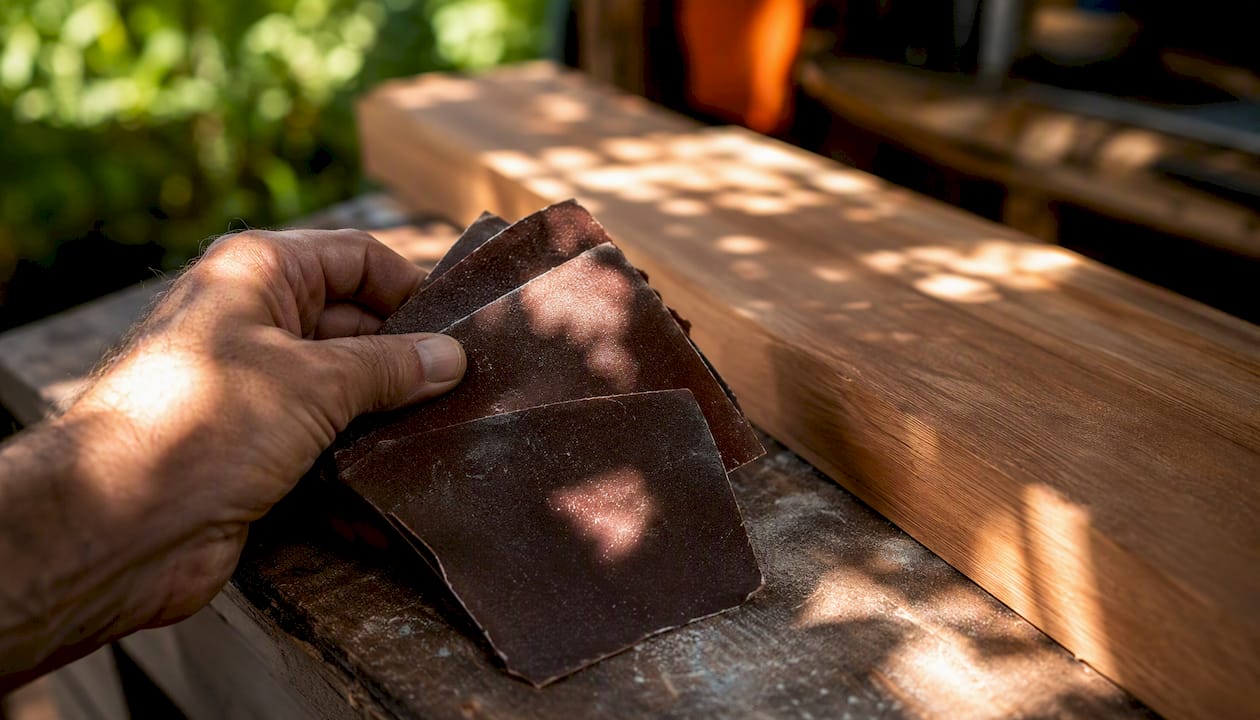
A surface that’s too smooth gives paint nothing to grip. A surface that’s too aggressively roughened can telegraph texture through the topcoat or, on delicate substrates, weaken the material itself. The goal is a profile matched to the substrate and the coating you’re applying, not maximum roughness.
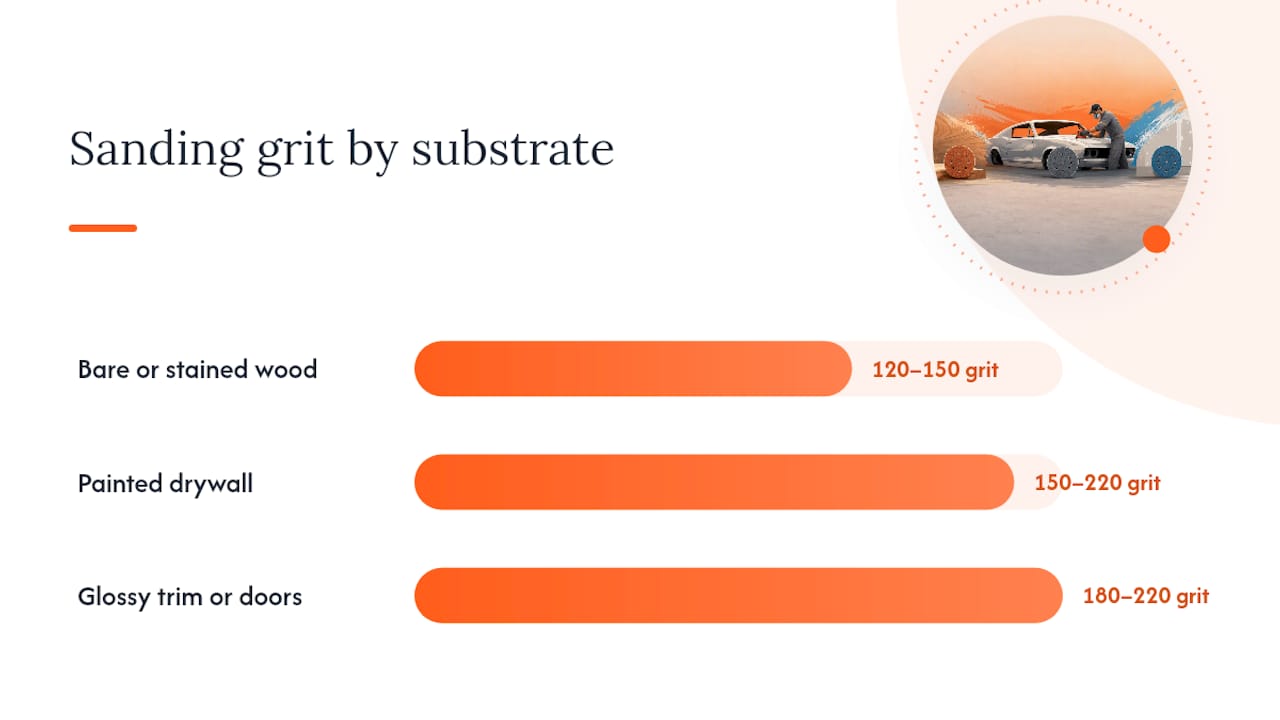
| Substrate | Recommended prep / profile | Notes |
|---|---|---|
| Bare or previously stained wood | Sand to fresh wood, 120 to 150 grit | Remove all loose fibers; finish with the grain, not across it |
| Previously painted drywall | Scuff sand with 150 to 220 grit | Light scuffing is enough; the goal is dulling gloss, not removing paint |
| Glossy trim or doors | Sand with 180 to 220 grit or use a liquid deglosser | Full gloss removal prevents peeling within months |
| Bare steel or iron | Abrasive blast to a near white metal finish (SA 2.5) or hand/power tool clean | Blast grading follows SSPC/ISO references; hand tools reach a lower but often adequate standard for maintenance work |
| Concrete or masonry | Etch or light abrasive profile, remove laitance | Confirm the surface is fully cured before profiling |
| Galvanized metal | Light sanding or a specialty etching cleaner | Smooth galvanized surfaces resist adhesion without this step |
SA 2.5, in practical terms, describes a near white metal finish where the vast majority of visible rust, mill scale, and old coating has been removed, leaving only light staining in shadowed areas. It’s a specification contractors quote when bidding structural steel work, and it’s worth knowing the term even if you never blast steel yourself, because it tells you what “properly prepped metal” looks like when you’re evaluating a quote.
Pro Tip: Match the grit to the job, not the other way around. Jumping straight to 80 grit on drywall gouges the paper facing and creates more repair work than it solves. Save the coarse grits for wood and metal, and keep interior wall work in the 150 to 220 range.
Step 5: Repair damage before you profile or prime
Fix the substrate before you finish preparing it. The order matters: clean first, then fill, then let the repair cure fully, then sand it flush, then remove the dust. Priming over a repair that hasn’t cured, or sanding a repair while it’s still soft, both create problems that show up weeks later as a slight shadow, a crack reopening, or the primer failing to bond.
- Drywall repairs: clean the damaged area, apply joint compound in thin layers, let each layer dry fully (usually 24 hours per coat, longer in humid conditions), sand smooth with fine grit, then wipe away dust with a damp cloth before priming.
- Wood repairs: clean and dry the area, apply wood filler or epoxy filler for larger gaps, allow the manufacturer’s specified cure time, sand flush with the surrounding surface, and spot-prime the repair before it’s exposed to moisture again.
- Masonry and concrete repairs: clean out loose material, apply a concrete patch compound suited to the crack width, and allow the recommended cure period. Concrete surfaces generally need an appropriate curing period under typical conditions before coating, and moisture should be confirmed with a plastic-sheet test per ASTM D4263 before you proceed, according to Sherwin-Williams’ guidance for exterior primers.
Pick fillers that are compatible with the primer and topcoat you’re planning to use. A fast-drying patch product that traps moisture underneath will eventually push the new paint film off from beneath, regardless of how well you prepared everything above it. After any repair, wait the full recommended cure time and, for larger or higher-stakes jobs, run a small adhesion test on the repaired patch before committing to the full wall or facade.
Step 6: Check moisture and temperature before you paint
Never paint over a damp surface, no matter how dry it looks on top. The plastic-sheet test remains the most reliable DIY method here: tape a clear plastic sheet over an 18-inch section, seal the edges, wait 16 to 24 hours, and check for condensation trapped underneath or darkening of the substrate itself. Either sign means the surface holds more moisture than it should.
Temperature matters just as much as moisture, and it’s the check most DIYers skip entirely. Standard coatings generally shouldn’t go on below 10°C (50°F) unless the product label explicitly states a lower minimum, and some specialty formulas are rated down to around 2°C (35°F). Industry guidance also flags fog and post-rain conditions as risky windows, even when the air temperature looks fine, because ambient humidity slows drying and can trap moisture under the film, according to Sherwin-Williams’ surface preparation resources.
- Check the surface temperature, not just the air temperature; a wall in direct sun can run considerably hotter than the ambient reading.
- Confirm no rain is forecast for at least 24 hours after your painting window closes.
- Allow adequate airflow for drying, especially indoors, where poor ventilation slows cure time significantly.
- Wait roughly 24 hours after washing before sanding or priming, longer in humid climates or on porous substrates.
- Wait the full manufacturer-specified cure time on any repair before testing adhesion or applying primer.
Different substrates hold moisture differently. Concrete and masonry can read dry on the surface while staying wet several inches deep, which is why the extended cure period matters so much for new pours. Drywall, by contrast, dries fast but shows moisture damage clearly through discoloration, so a visual check combined with a touch test usually tells you what you need to know. If you’re unsure and the stakes are high (a full exterior repaint, a commercial job), a moisture meter costs little compared to the alternative, or it’s worth bringing in a professional to confirm.
Step 7: Choose the right primer for the substrate
If you’re working over bare material, a patch, a glossy surface, or a stain, prime. That’s the rule that covers most situations. Primer isn’t a formality; it’s the layer that actually bonds to a difficult substrate so the topcoat has something reliable to grip instead of fighting the substrate directly.
| Substrate | Recommended primer type | When primer is mandatory |
|---|---|---|
| Bare wood | Alkyd or acrylic wood primer | Always, especially on exterior wood exposed to moisture cycling |
| Bare or spot-repaired drywall | PVA or acrylic drywall primer/sealer | Always on new drywall or joint compound patches, to even out porosity |
| Bare metal | Rust-inhibitive metal primer | Always; bare steel without primer will rust under the topcoat |
| Galvanized metal | Specialty galvanized metal primer | Always; standard primers often fail to bond to zinc coatings |
| Glossy surfaces (trim, doors, cabinets) | Bonding primer | Always, unless glossed thoroughly with a deglosser first |
| Stained or water-damaged walls | Stain-blocking primer | Always, to prevent the stain from bleeding through the new topcoat |
| Concrete and masonry | Masonry primer/sealer | Recommended, especially on porous or previously bare surfaces |
Compatibility between coats matters as much as the primer choice itself. Alkyd-based topcoats generally want alkyd-compatible primers, and water-based acrylic topcoats perform best over water-based primers, though bonding primers exist specifically to bridge that gap when you’re recoating an unknown or mismatched system. Brands widely used across the industry, such as Dekro, Plascon, and Dulux, each produce full lines covering these categories, from bonding primers and sealers to dedicated stain-blocking and metal-specific products. The category matters more than the specific brand line, and checking a product’s technical data sheet for recoat times and compatibility beats guessing every time.
Pro Tip: Don’t spot-prime a patch bigger than a hand’s width and call it done. Small primer patches often dry to a slightly different sheen than the surrounding wall, and that difference shows through the topcoat, especially under raking light. Once a repair covers more than a small area, prime the whole wall or panel for a uniform finish.
Step 8: Test adhesion before you commit to the full job
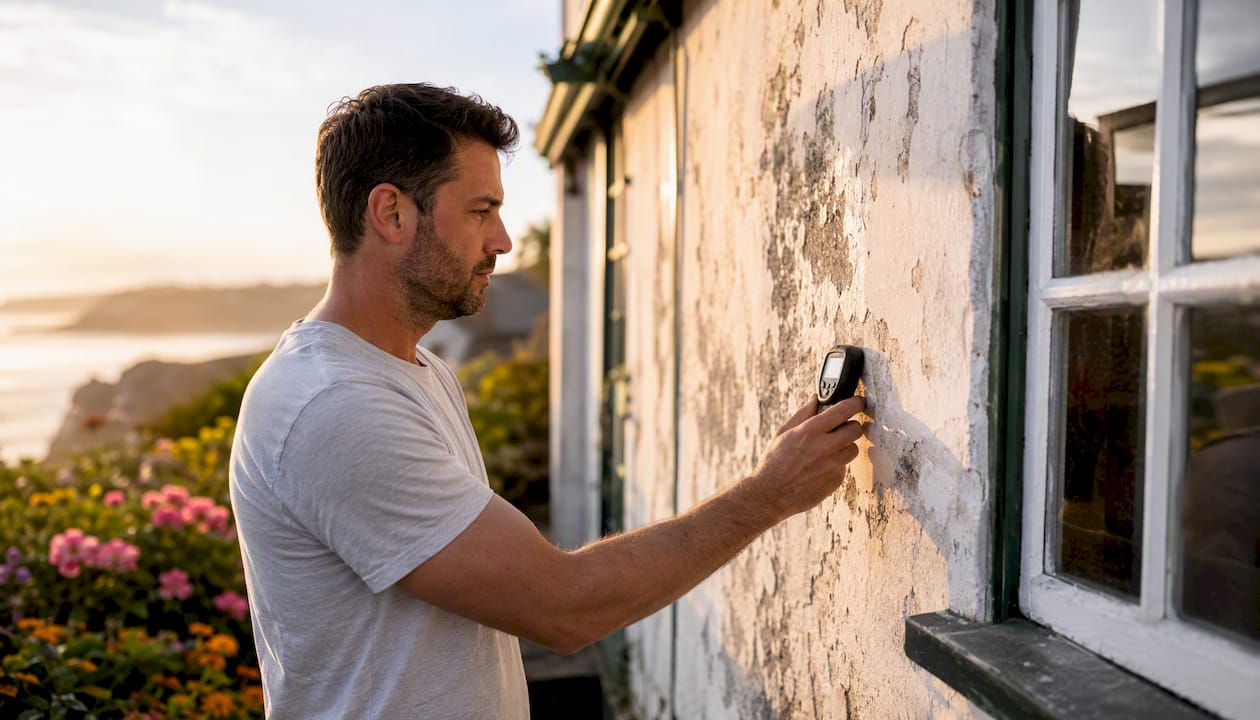
Run a small test before painting the whole surface, especially on a job with real cost at stake. The ASTM D3359 crosshatch test is simple enough to do yourself: cut a grid pattern of small parallel lines through the dried coating down to the substrate, apply and remove a strip of tape across the grid, and inspect what came off. A rating of 5B means nothing lifted at all. A rating of 0B means over 65% of the coating pulled away with the tape, which signals adhesion failure serious enough to stop and re-prep, according to ATSLab’s testing overview.
For higher-stakes commercial work, a portable pull-off adhesion tester gives a quantified force measurement instead of a visual rating, but that level of testing usually belongs to a contractor with calibrated equipment rather than a homeowner project.
Before you scale up from a test patch to the full job, confirm each of these:
- No lifting or removal in the crosshatch test, or a rating you’re comfortable with for the coating’s intended service life.
- The surface reads dry on a moisture check, with no condensation under a plastic-sheet test.
- The profile matches what the coating manufacturer specifies for that substrate.
- No visible contamination remains: no oily sheen, no chalking residue, no salt bloom.
A two or three-square-foot test patch, fully primed and topcoated and left to cure for about a week, catches problems that are cheap to fix on a small section and expensive to fix across an entire facade, according to a practical prep guide from Paint Craft Co. It’s the single lowest-cost insurance step in this entire process, and it’s the one most people skip.
What tools, materials, and PPE you actually need
Before you start buying supplies, here’s the realistic kit for most residential prep jobs, broken down by task:
- Hand tools: putty knives, scrapers, wire brushes, a five-in-one tool, and a caulk gun.
- Sanding supplies: sandpaper in a range from 80 grit (for aggressive removal on wood) up to 220 grit (for final scuffing before primer), plus a sanding block or random-orbit sander for larger areas.
- Cleaning chemicals: mild detergent, a degreaser for kitchens and garages, diluted bleach for mildew, and a dedicated solvent cleaner for oil and grease on metal or trim.
- Fillers and compounds: joint compound for drywall, wood filler or epoxy filler for trim and siding, and a concrete patch compound rated for the crack width you’re dealing with.
- Primers: substrate-matched primers as covered above, purchased in the quantity needed for a full coat rather than spot application.
- Pressure washer (for exterior work): 1,500 to 3,000 PSI covers most residential siding and masonry cleaning, with lower pressure and a wider fan tip on softer materials like wood siding to avoid gouging the surface.
- Blast equipment (specialist jobs only): typically requires hire or a contractor, given the compressor capacity and containment setup involved.
PPE requirements shift depending on the task, and treating every job with the same glove-and-goggles setup undersells the risk on some tasks:
- Chemical cleaning (bleach, solvents, degreasers): chemical-resistant gloves, splash goggles, and a respirator rated for organic vapors when working with solvents indoors or in enclosed spaces.
- Sanding, especially of old paint: an N95 or higher-rated dust mask at minimum, safety glasses, and full dust containment if you suspect lead paint.
- Abrasive blasting: full-face respirator with appropriate cartridge, hearing protection, heavy gloves, and protective coveralls, given the volume of fine particulate generated.
- General handling of fillers and primers: nitrile gloves and eye protection, plus ventilation for any oil-based or solvent-based product.
The most common surface prep failures, and how to fix them
Most paint problems trace back to one of a handful of root causes, and once you know the pattern, diagnosis gets fast.
- Blistering — usually caused by moisture trapped beneath the coating, either from painting a damp surface or from moisture migrating through the substrate afterward. Fix: scrape back to sound material, identify and resolve the moisture source, let the area dry fully, and recoat.
- Peeling — often traced to a contaminated surface (dirt, oil, or wax) or to incompatible coating layers underneath, according to Real Simple’s breakdown of common paint peeling causes. Fix: strip back to a sound edge, clean thoroughly, confirm compatibility with an adhesion test, then reprime and recoat.
- Chalking — a powdery surface residue from UV degradation of an old coating, which prevents new paint from bonding. Fix: wash thoroughly to remove all loose chalk, rinse until the water runs clear, and confirm with a hand-wipe test before priming.
- Poor adhesion (general) — can stem from an incompatible primer, insufficient profile, or leftover contamination. Fix: run a crosshatch adhesion test on the failing area, and if it fails, remove back to sound material and re-prep from cleaning forward.
The trickiest diagnostic question is whether a failure comes from prep, product incompatibility, or environmental conditions. A crosshatch test on the affected area usually settles it: if adhesion fails there but passed on your original test patch, something changed (new contamination, moisture, or an incompatible batch of paint) rather than a prep oversight from the start.
Two mistakes repeat more than any others: painting over mildew instead of treating it first, which lets the growth push straight through the new film within months, and painting too soon after washing, which traps residual moisture under the coating and shows up later as blistering. Both are avoidable with patience and the moisture checks covered earlier.
When a professional makes more sense than DIY
Call a professional for large-scale jobs, any blast cleaning work, suspected lead paint, extensive rust or damp issues, or when you want a warranty backing the result. The threshold isn’t about skill alone. It’s about scale, hazard, and accountability. A contractor with proper containment equipment and disposal protocols handles a lead-paint removal safely in a way that’s genuinely risky to attempt without that setup.
When you’re vetting a contractor, ask for specifics rather than a general estimate:
- A written scope describing exactly which prep steps are included, not just “prep and paint.”
- Their approach to moisture and adhesion testing, and whether they’ll run a test patch before the full job.
- The surface profile specification they’re targeting, especially on metal or masonry work.
- Product data sheets for the primers and topcoats they’re proposing, and why those products fit your substrate.
- A warranty period covering both workmanship and adhesion.
Good questions to ask directly: how will you remove the old coating? Which tests will confirm the surface is ready? What primer are you specifying for this substrate, and why that one over another? A contractor who answers those questions specifically, rather than vaguely, is one worth hiring. This is also where a full-time crew matters more than people expect. Subcontracted teams change from job to job, which makes consistent prep standards harder to guarantee across a portfolio of properties.
Quick recap before you open a can of paint
- Inspect first: identify contamination, damage, and moisture before choosing your prep path.
- Clean with the least aggressive method that actually removes the problem, then escalate if needed.
- Remove all loose or failing material and feather the edges smooth.
- Profile the surface to match the substrate, not maximum roughness.
- Repair and let every patch cure fully before sanding or priming.
- Confirm moisture and temperature are within acceptable range before you paint.
- Prime any bare, patched, glossy, or stained surface with a substrate-matched product.
- Test adhesion on a small patch before committing to the full job.
A practitioner’s note on prep in a tough climate
Coastal and variable climates punish shortcuts faster than anywhere else. Salt air re-contaminates a surface within days of a single wash, UV exposure accelerates chalking on south-facing walls, and rain patterns leave narrower windows than most DIY schedules account for. One of the trickier jobs is a coastal facade that looks clean on the surface but fails a crosshatch test because salt has worked its way back into the substrate between the wash and the paint job, which is exactly why a second cleaning pass and a test patch aren’t optional extras. Cape Apex Painters builds its process around this reality: diagnostic assessment before any quote, prep-first repairs rather than paint-over patches, and coating specification matched to Cape Town’s particular mix of sun, rain, and salt air.
If you’re working on a small interior room with no moisture history, doing this yourself with the checks in this guide is entirely reasonable. Once you’re dealing with a full exterior, a damp-affected wall, or anything involving old coatings you can’t identify, that’s the point where calling a professional saves more money than it costs.
If you’d rather hand the prep work to a full-time crew
Cape Apex Painters treats surface preparation the way this guide does: as the step that determines whether a paint job lasts two years or fifteen, not a box to tick before the fun part starts. Every project starts with a diagnostic assessment on-site, followed by test patching where the substrate history is uncertain, and a specification-first approach to primer and coating selection matched to your building’s exposure. Because the crew is full-time and in-house rather than subcontracted, the same standards apply from the first wall to the last.

If you’re looking at a repaint and you’re not confident about what’s underneath the existing coating, whether that’s damp, old paint layers, or coastal salt damage, the next step is straightforward: request an inspection through Cape Apex Painters and get a written scope covering exactly what prep work your property needs before a single coat goes on.
Frequently asked questions
How long should I wait after cleaning a surface before priming it?
Give the surface at least 24 hours to dry fully after washing, longer in humid conditions or on porous substrates like concrete and masonry. Confirm with a plastic-sheet moisture test if you’re unsure.
What grit sandpaper should I use for surface preparation for painting?
It depends on the substrate. Bare wood typically needs 120 to 150 grit, previously painted drywall needs a light 150 to 220 grit scuff, and glossy trim needs 180 to 220 grit or a liquid deglosser to kill the sheen.
Do I always need to prime before painting?
Prime whenever you’re working over bare material, a patched repair, a glossy surface, or a stain. Skipping primer on any of these is one of the most common causes of early paint failure.
What’s the minimum temperature for exterior painting?
Most standard coatings shouldn’t go on below 10°C (50°F) unless the product label states otherwise, and some specialty formulas allow application down to around 2°C (35°F). Always check the product data sheet.
How do I know if my paint failure is a prep problem or a product problem?
Run a crosshatch adhesion test on the failing area. If it fails there but passed on an earlier test patch with the same product, something changed, like new contamination or moisture, rather than an original prep mistake.
This article provides general guidance on surface preparation practices and isn’t a substitute for a site-specific assessment. For hazardous conditions like suspected lead paint, or for large-scale and structural work, consult a qualified professional or your local regulatory guidance.
Sources
Several standards and technical resources back the methods covered throughout this guide, and they’re worth bookmarking if you’re specifying prep work for a larger project. The ASTM D3359 crosshatch test covers the adhesion rating scale contractors quote when discussing coating performance. The ASTM D4263 plastic-sheet moisture test is the standard DIY-accessible method for confirming a substrate is dry enough to coat. SSPC and ISO blast cleanliness grades define the accepted terminology (like SA 2.5) for metal surface preparation.
Beyond the formal standards, Sherwin-Williams’ contractor resource pages and Benjamin Moore’s wall preparation guide both offer practical, product-agnostic breakdowns of cleaning and priming sequences. If you’re tackling interior prep alongside a broader room refresh, Top Tier Painting & Drywall’s interior painting resource walks through a comparable checklist approach for scope and sequencing. For trim, doors, and cabinetry specifically, One Day Doors & Closets’ guide on priming and finishing interior doors covers the bonding-primer considerations that matter on high-touch, high-gloss surfaces. If lead paint is a concern on an older property, the EPA’s lead guidance page is the authoritative starting point for testing and safe handling before you do anything else.e
-
- Crosshatch adhesion testing (ATSLab)
- Adhesion in paint and coatings: Theories, types & test methods (SpecialChem)
- How to prepare walls for painting (Benjamin Moore)
- Giving your home a new look with paint
- Tips for home improvement
- Budgeting for painting and home improvement
- Re-vamping your home with paint
- Improve your home with fresh paint
- Painting tips
- Homework before painting
- Making your home a better place with paint
- Home improvement information
- Painters recommended
- Home improvement projects