
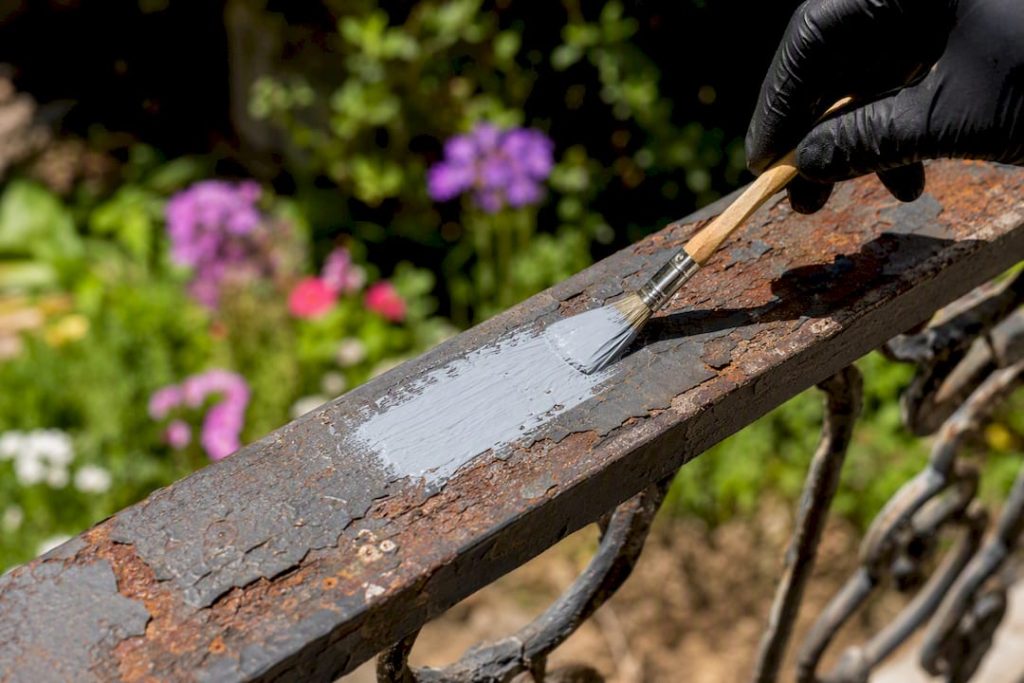
Most rusted railings can be saved. If the metal still rings solid when you tap it and there’s no hole you could poke a screwdriver through, repair and repaint beats replacement almost every time. The winning system: mechanical prep, a rust-stabilising treatment, a rust-inhibiting primer, and a 100% acrylic topcoat, which holds up for 8 to 12 years on residential railings.
Before you buy a single tin of paint, do this:
- Probe suspicious spots with a screwdriver or awl.
- Check welds and joints for pitting.
- Identify the metal (steel, cast iron, aluminium, or galvanised).
- Plan to prime the same day you finish prep.
Key Takeaways
A durable rust repaint depends on correct substrate identification, thorough mechanical prep, same-day priming to beat flash rust, and a topcoat matched to the railing’s real exposure.
| Point | Details |
|---|---|
| Test before you treat | Probe suspect metal with a screwdriver; replace sections that give way rather than repainting over structural failure. |
| Match primer to metal | Steel needs rust-inhibitive primer, aluminium needs DTM/bonding primer, fresh galvanising needs zinc-tolerant etch primer. |
| Beat flash rust | Prime the same day you finish mechanical prep, since bare steel starts rusting again within hours in humid air. |
| Choose the topcoat for the exposure | 100% acrylic gives 8 to 12 years on typical residential railings; reserve alkyd/enamel for marine or heavy-wear settings. |
| Bring in Cape Apex Painters for complex jobs | Their full-time crew handles surface diagnostics and climate-specific coating specs for damp-related or structural cases. |
Table of Contents
- How do you assess and prep rusted railings before painting?
- Step-by-step: how to paint rusty railings for a durable finish
- Which rust treatment and paint should you actually buy?
- How often should you inspect and touch up painted railings?
- When does a rusted railing job call for a professional?
- What the research gets right, and where DIY guides oversell it
- Get a professional assessment for your railings
- Sources
How do you assess and prep rusted railings before painting?
Grab a screwdriver before you grab a paintbrush. Press it against any patch that looks thin or bubbled. If it pokes through or crumbles the metal, that section has gone past cosmetic and into structural territory, and no amount of rusted railings paint will fix it. If the metal resists and just flakes rust on the surface, you’re dealing with a prep job, not a replacement job.
Check the substrate. Old wrought iron and mild steel railings behave differently under paint than aluminium or galvanised steel. Galvanised metal needs an etch primer designed to bite into zinc; ordinary rust primers won’t adhere properly to it. Aluminium generally wants a bonding or DTM (direct to metal) primer rather than a standard rust-inhibitive one, since it doesn’t rust the same way steel does.
Once you know what you’re working with, gather the right tools:
- Wire brush or wire wheel attachment for a drill, for loose rust and flaking paint.
- An angle grinder with a flap disc for heavier scale or pitted sections.
- 80 to 120 grit sandpaper for feathering edges and smoothing transitions.
- A respirator rated for particulates, safety glasses, and gloves, since old paint on pre1980s properties can contain lead.
- Drop sheets, since grinding throws metal dust and paint chips well beyond the work area.
Degrease with a wax and grease remover or diluted sugar soap after mechanical work, and rinse it off completely. Any oil film left behind will stop primer from bonding no matter how clean the metal looks.
Pro Tip: Bare steel starts forming a hazy layer of flash rust within an hour or two of exposure to Cape Town’s humid coastal air. Time your prep so you can prime the same day, not the next morning.
Step-by-step: how to paint rusty railings for a durable finish
This is the order that actually holds up, drawn from the standard workflow painters use on ironwork: clean, remove rust, sand, prime, then topcoat.
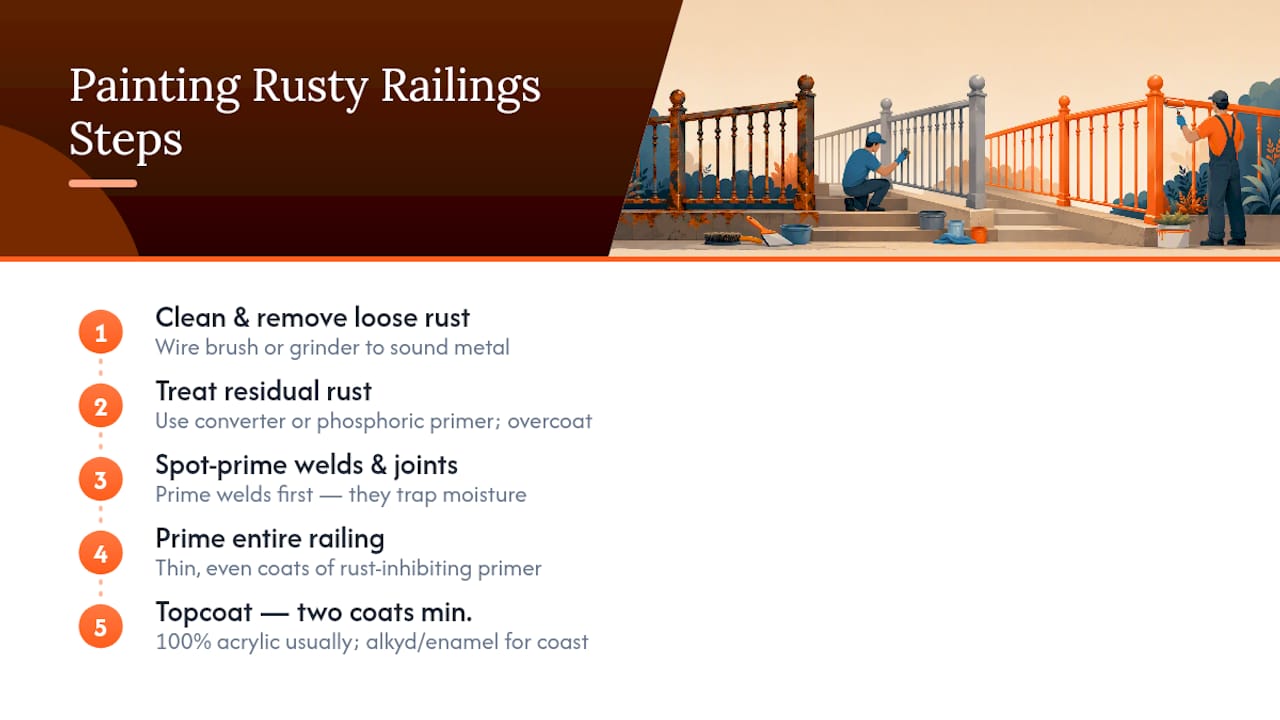
Step 1: Strip loose rust and failing paint. Work the wire brush or grinder over every rusted section until you hit either bright metal or tight, stable rust that won’t flake under a fingernail. You don’t need to grind every last trace of orange away. In fact, grinding pitted rust down to shiny bare steel everywhere can work against you if you’re planning to use a converter, since those products need iron oxide present to react chemically. Where you do expose bright metal, that spot gets a standard metal primer instead.
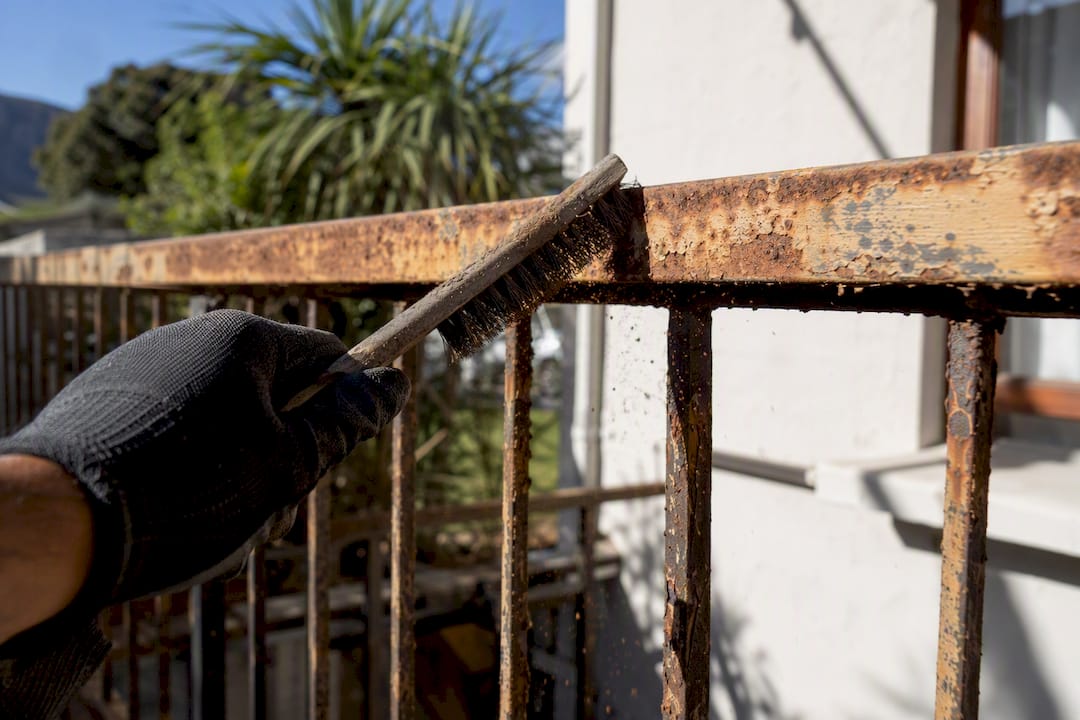
Step 2: Treat what’s left with a rust converter or phosphoric primer. Rust converters turn residual iron oxide into a stable, dark, paintable coating rather than removing it. They only work well on tightly adhered, stable rust, and they’re sensitive to temperature: most fail to cure properly below around 10°C, so check the forecast before you start. Phosphoric rust primers do something similar, converting rust to iron phosphate, and both product types leave a surface that must be overcoated. Neither one is a finish coat on its own.
Step 3: Spot-prime welds and joints first. Welds and heat-affected zones trap moisture and rust faster than flat sections, so give them a dedicated pass with extra primer before you coat the rest of the railing. Then apply a full coat of rust-inhibiting metal primer over everything, in thin, even layers. Thick primer coats sag on vertical balusters and take far longer to cure properly.
Step 4: Apply your topcoat, two coats minimum. For most homes, a 100% acrylic exterior topcoat is the right call, giving you that 8 to 12 year window mentioned earlier while staying more UV stable and easier to clean up than an oil-based option. For railings near the coast that take a constant beating from salt spray, or anything getting heavy foot traffic and knocks, an alkyd or enamel finish still earns its place for extra hardness and abrasion resistance.
On application technique: a sprayer gives you even coverage fast on ornate, scrolled railings, but you’ll need to mask the wall and surrounding plants and wait for a still day. A brush gives you more control around balusters, welds, and tight corners, and it’s the better tool if there’s any wind at all. Whichever you use, work in a wet edge, and never paint below the manufacturer’s minimum application temperature, usually printed right on the tin.
Which rust treatment and paint should you actually buy?
Rust converters and phosphoric primers do similar jobs through different chemistry, and picking the wrong one for the situation wastes a weekend. A converter is best on rust that’s stable and adhered. It won’t do much for scaly, flaking rust that’s still actively lifting off the metal. Phosphoric primers tend to be the better pick when you’re dealing with heavier, more established rust across a large area, since they convert and seal in one pass.
Primer choice also depends entirely on what’s under the rust:
- Steel and cast iron: a rust-inhibitive metal primer, applied after converter or phosphoric treatment where needed.
- Aluminium or previously painted metal: a DTM or bonding primer, since standard rust primers don’t grip these surfaces well.
- Fresh galvanised steel: a zinc-tolerant etch primer, because ordinary primers slide right off new galvanising.
On the topcoat, the acrylic-versus-alkyd decision comes down to exposure. A modern 100% acrylic exterior finish gives residential railings 8 to 12 years of service life when the prep underneath was done properly, and it’s now close enough to oil enamel in durability that most homeowners never notice a difference in day-to-day wear. Save the alkyd or enamel option for railings that see genuine marine exposure or heavy mechanical abuse, like a security gate that gets slammed daily. In coastal suburbs where salt spray is a constant, pairing a converter with a sealing topcoat rather than a thin single coat helps stop rust from reactivating underneath the finish.
How often should you inspect and touch up painted railings?
Walk your railings twice a year, and again after any big storm or a run of salty onshore wind. Catching a coin-sized bubble early means a ten-minute fix instead of a weekend project.
- Inspect in spring and autumn, plus after any heavy weather event.
- For small spots: sand back to sound material, degrease, spot-prime, then topcoat, matching the original colour with leftover paint you kept from the last job.
- Keep a labelled tin of your exact topcoat colour and sheen for quick touch-ups.
- If rust keeps returning at the same spot or the paint blisters across a wide area rather than one point, that’s usually moisture getting in from behind, and it signals a full repaint or a structural repair rather than another patch.
When does a rusted railing job call for a professional?
Not every railing is a weekend project, and pretending otherwise usually costs more in the long run than the professional quote would have.
- Suspected damp coming through a wall behind the railing anchor points, since that changes the repair scope entirely.
- Structural rust where you’re unsure if a section needs replacing rather than repainting.
- Body corporate, estate, or multi-unit properties where consistency across dozens of units matters and warranties are expected.
- Situations where you want a documented diagnosis before signing off on repair versus replace.
Capeapexpainters works across Cape Town, the Cape Winelands, and the Overberg with a full-time crew rather than rotating subcontractors, which matters when a job spans multiple visits and you want the same people accountable for the result.
A proper quote should tell you exactly what’s wrong, not just what it costs. Surface diagnostics, a clear repair scope, the specific primer and topcoat being specified, and a realistic schedule are what separate a professional assessment from a guess.
What the research gets right, and where DIY guides oversell it
Most online guides treat rust converters like magic in a can. They’re not. They stabilise existing rust; they don’t create a durable surface by themselves, and their temperature sensitivity trips up more DIY jobs than any other single step in this process. If you’ve ever wondered why a converted railing rusted through again eighteen months later, cold-weather application or skipping the sealing topcoat is usually the answer.
The bigger blind spot in conventional advice is timing, not technique. Everyone talks about wire brushes and primer types, almost nobody talks about flash rust setting in while you’re still deciding what to buy. In a coastal climate, that window closes in hours, not days.
If there’s one thing worth prioritising above product selection, it’s this: get the substrate identification right before you buy anything. A galvanised gate primed like mild steel will fail early no matter how good the topcoat is. Get that one decision right, and the 8 to 12 year lifespan on a decent acrylic system is realistic, not marketing.
— Thinus
Get a professional assessment for your railings
Capeapexpainters is built around the part of this job most DIY attempts skip: proper diagnosis before a drop of paint goes on. Instead of a quick quote based on a photo, you get an in-person surface assessment that checks for damp behind the railing anchors, identifies the metal correctly, and specifies the exact primer and topcoat system for your climate exposure, whether that’s a sheltered courtyard or a railing that eats salt spray every day.

That prep-first approach is the same one this guide has walked through, just carried out by a full-time crew rather than a weekend and a borrowed grinder. It suits homeowners who want the job done once and done properly, and it suits estate managers and body corporate trustees who need one accountable team across multiple units rather than a different contractor for every complaint. Coastal exposure also changes the numbers on paint life, a point worth reading up on in this guide to coastal coating choices if your property sits anywhere near the shore.
If your railings are past a simple touch-up, get a quote from Cape Apex Painters and start with an assessment rather than a guess.
Sources
- Acrylic vs enamel paint difference (Medal paints)
- Eastwood Rust Converter product information
- TotalBoat rust primer product page
- How to paint iron railings (Metalfixes)