
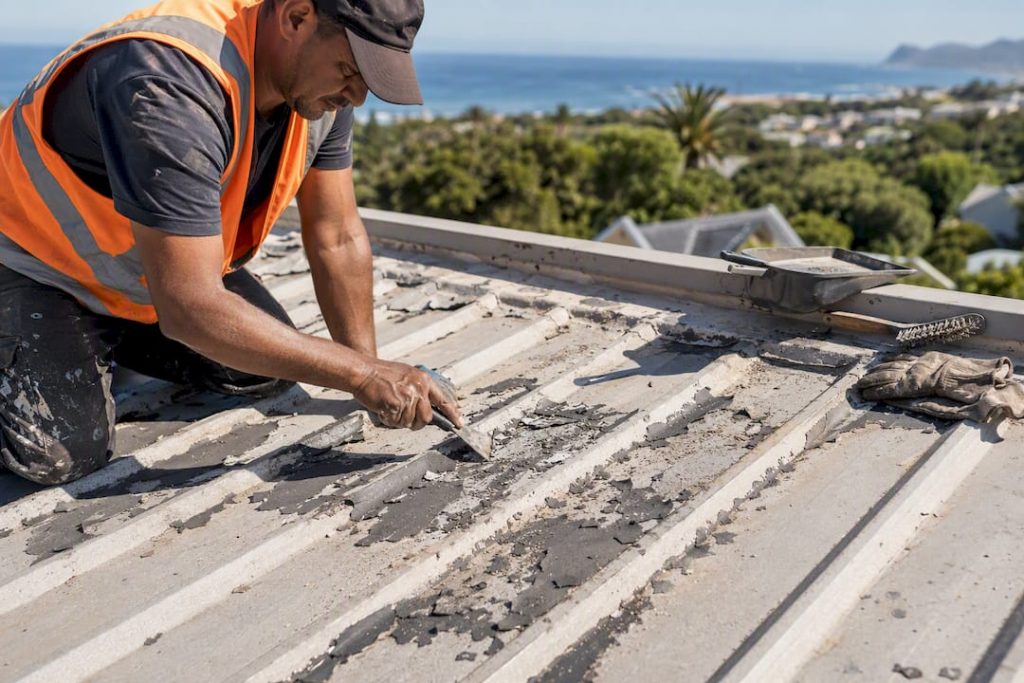
A paint job that lasts ten years and one that peels within a season come down to the same variable: how the roof was prepared before a drop of paint touched it. Up to 80% of coating failures trace back to inadequate surface preparation, not bad paint or bad luck.
The fix is a sequence, not a shortcut: inspect, clean and kill any organic growth, strip loose paint and rust, degrease and run a water-break test, feather the edges, prime for the specific substrate, then paint only when the weather cooperates.
- Inspect for rust, flaking, cracked tiles, and hidden rot before you touch a brush.
- Clean and treat moss, algae, or lichen with a proper chemical treatment, not just a hose.
- Remove loose paint and corrosion back to sound material.
- Degrease and test the surface with a water-break check.
- Feather and repair damaged edges and cracked or slipped tiles.
- Prime according to the substrate, not a generic all-purpose product.
- Paint only within the right temperature and dry-weather window.
Pro Tip: Before committing to the whole roof, clean and prime a small 2 to 3 square foot test patch, then run a water-break test on it. If water beads instead of sheeting evenly, there’s still contamination and the patch will tell you before the whole roof does.
For product-specific limits, always check the technical data sheet from the paint manufacturer, such as Plascon, Paintcor, or Dulux, since warranty claims usually hinge on following their documented process.
Key Takeaways
Roof painting preparation succeeds or fails based on matching cleaning, repair, and priming methods to the specific substrate, not on the paint brand chosen.
| Point | Details |
|---|---|
| Prep drives longevity | Up to 80% of coating failures come from inadequate surface preparation, not paint quality. |
| Match method to substrate | Metal, concrete tile, and clay tile each need different cleaning aggressiveness and primer types. |
| Test before committing | Run a water-break test and a small test patch before priming or painting the full roof. |
| Weather windows matter | Avoid painting below roughly 10°C (50°F) and build in a rain-free window for proper cure. |
| Know when to call a pro | Cape Apex Painters offers in-house diagnostic assessments and damp-proofing for steep, corroded, or warranty-sensitive roofs. |
Table of Contents
- Tools, PPE and materials you’ll need before you start
- How do you identify your roof’s substrate?
- Preparing metal roofs step by step
- Preparing concrete and clay tile roofs step by step
- Which primer and paint should you use, and when should you apply it?
- How do you run a test patch and plan your timeline?
- What roof painting preparation actually rewards, and what it doesn’t
- When should you hire a professional instead of DIY-ing your roof?
- Frequently asked questions
- Sources
Tools, PPE and materials you’ll need before you start
Buy everything before you climb, not halfway through the job. Group your shopping list by task:
- Inspection: flashlight, chalk or marker, magnet (to test for steel vs. non-ferrous), moisture meter if available.
- Cleaning: garden sprayer, low-pressure rinse hose, soft-bristled brushes, mild detergent, moss/mould killer.
- Rust and paint removal: rust discs, wire brush, 100 to 180 grit sandpaper, scraper.
- Priming and painting: substrate-appropriate primer, roof-grade acrylic topcoat, masking tape, drop sheets, waste containment bags.
- Safety: harness and anchor points, roof boots with grip soles, eye protection, gloves, and a respirator for any chemical treatment.
Fall protection is not optional gear you skip on a mild-pitch roof. Always work with a spotter, and if the pitch is steep or the roof is high, that’s your cue to call a licensed professional instead of improvising.
How do you identify your roof’s substrate?
Before you buy a single tin of primer, figure out what you’re actually painting. A magnet sticks to steel but not to aluminium. A factory-coated roof (like pre-painted Colorbond or Zincalume-type steel) has a slick, uniform sheen; a hand-painted roof shows brush or roller texture and uneven wear. Concrete and clay tiles are porous, often chalky to the touch, and absorb water quickly when splashed.
Once you know the substrate, the prep path splits:
- Sound factory finish: run a scratch test on a hidden area. If the coating doesn’t lift, you likely only need spot-priming on bare or scratched patches.
- Galvanized steel or visible rust: expect deeper rust removal and a metal-bonding primer over the whole surface, not just the rusted spots.
- Concrete or clay tile: focus on cleaning, sealing, and anti-suction treatment rather than aggressive mechanical stripping.
There’s no universal primer or cleaning method that works across all three. Metal roof manufacturers often attach long warranties to their factory finish, so check the roof maker’s documentation and the paint brand’s technical data sheet, whether that’s Plascon, Paintcor, or Dulux, before you commit to a product.
Preparing metal roofs step by step
Metal roofs fail in predictable ways: red or white rust blooms, factory coating flakes at the seams, fasteners work loose, and coastal homes accumulate salt film that keeps drawing moisture back in.
- Inspect first. Walk the roof (safely) and mark every spot with rust, flaking, or loose screws. Check fastener washers, which perish faster than the metal itself.
- Clean with the right pressure. Use a low-pressure rinse and a manufacturer-approved detergent rather than a high-pressure washer, which can lift factory coating at the edges. If you suspect oil or wax contamination from nearby construction or traffic, add a degreaser step.
- Strip rust and loose paint mechanically. Rust discs and sanding work better than chemical strippers on most roofing steel. Feather the transition edges with 180-grit sandpaper so the new coat doesn’t telegraph a visible ridge line.
- Spot-prime immediately. Bare metal starts oxidizing again within hours of exposure, so prime exposed areas the same day you strip them, using a metal-bonding primer matched to the substrate.
- Run an adhesion check. A simple scratch test on a cured spot tells you whether the primer has bonded. If sheets show through-corrosion, holes, or the metal flexes noticeably underfoot, that section needs replacement, not paint.
For homes near the coast, wind-blown salt and zinc corrosion products are hygroscopic, meaning they pull moisture back through a coating even after painting. Rinse thoroughly, sometimes more than once, until the water runs clean.
Pro Tip: After rinsing a coastal roof, let it dry fully, then wipe a clean cloth over a test section. If it comes away gritty or white, salts are still there and you need another rinse cycle before primer goes anywhere near it.
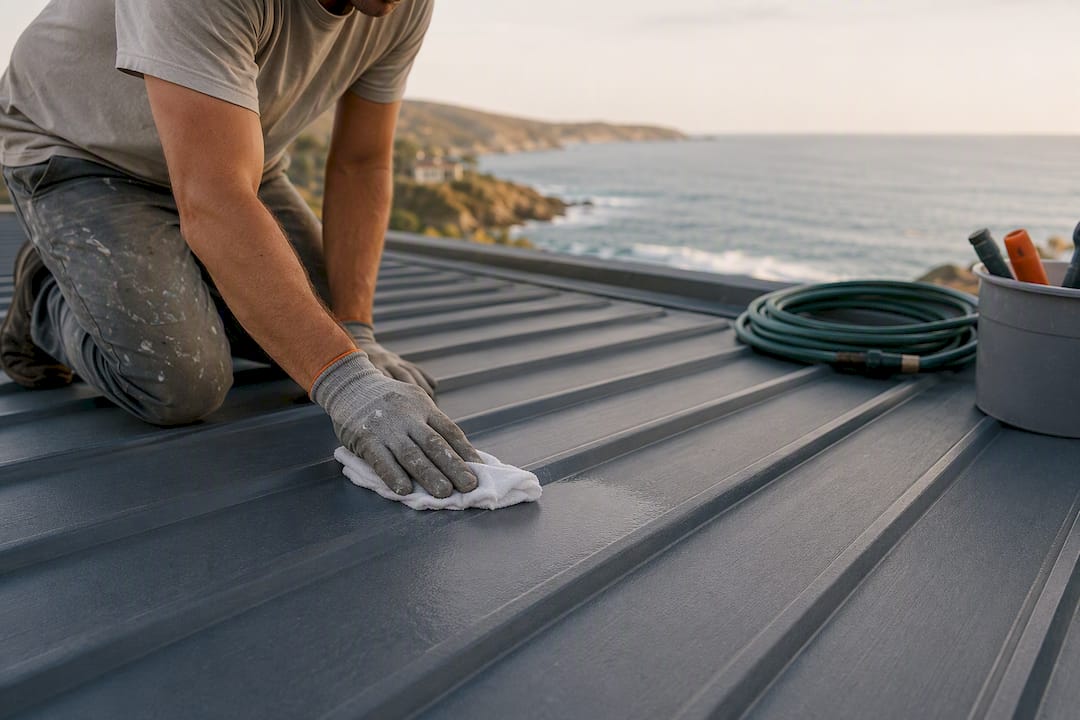
Keep your footing manageable and always use fall protection. Steep or high metal roofs are one of the clearer cases for hiring a professional crew instead of working alone.
Preparing concrete and clay tile roofs step by step
Porous roofs play by different rules than metal. Tiles absorb water, moss digs into the surface texture, and forcing water where it doesn’t belong can cause problems you won’t see until the next heavy rain.
- Inspect for structural issues first. Check for cracked, slipped, or broken tiles, and look under accessible edges for signs of rot in the underlayment. Confirm the roof is actually watertight before you plan a paint schedule around it; a leak hidden under old paint is a repair job, not a painting job.
- Treat organic growth chemically before scrubbing. Moss, algae, and lichen need a chemical treatment first, whether a commercial moss killer for heavy infestations or a 50/50 water and white vinegar spot mix for small patches. Give it the recommended kill time before any mechanical removal.
- Clean with a soft-wash approach. Low-pressure rinsing and manufacturer-recommended cleaning agents work better than pressure washing on tile, which can force water up under overlapping tiles and cause leaks that show up months later.
- Repair and feather before sealing. Replace cracked or slipped tiles, re-bed loose ones, and feather any mechanically removed old coating so the transition doesn’t leave a visible edge under the new topcoat.
- Seal or prime to control suction. Tile and concrete are porous enough to drink paint unevenly if left untreated. A tile-specific sealer or primer stabilizes the surface and gives the topcoat something consistent to bond to.
Pro Tip: Schedule cleaning and treatment for a mild, overcast day. Painting a sun-baked tile roof at midday causes flash drying, where the surface skins over before the coating actually bonds, and that’s a common cause of early peeling on tile jobs.
Which primer and paint should you use, and when should you apply it?
Primer choice follows substrate, full stop. Metal and galvanized steel need a metal-bonding primer built for that surface; concrete and clay tile need a masonry or tile-specific primer/sealer that controls suction instead of bonding to bare metal.
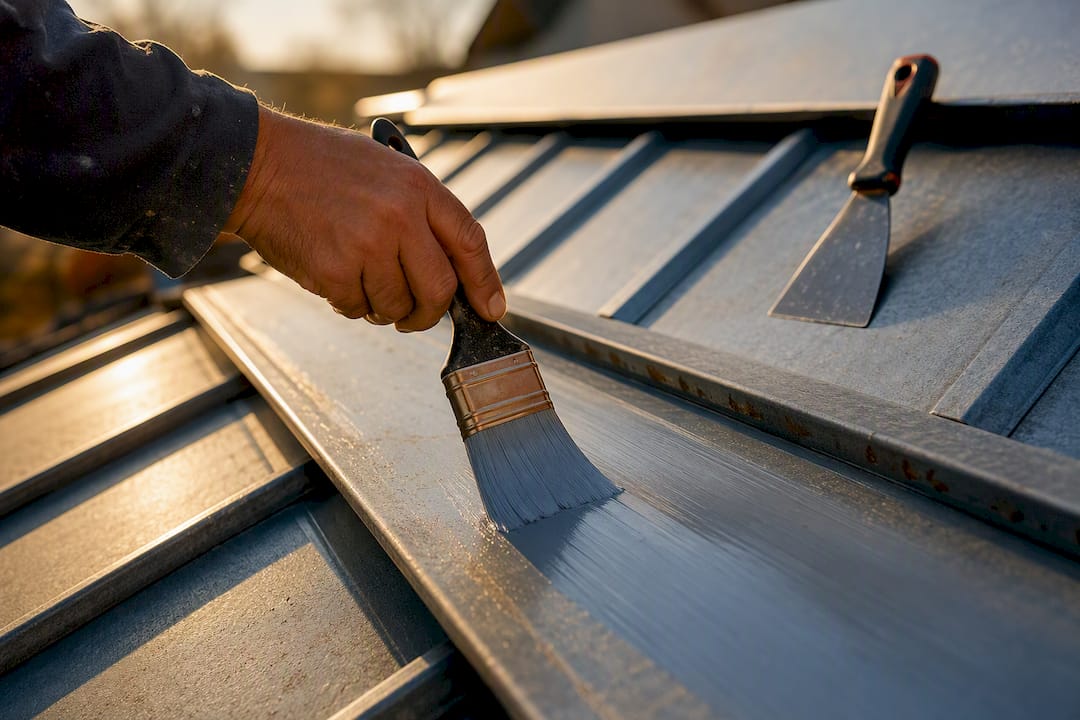
For the topcoat, roof-grade acrylics are the standard choice for most residential jobs. If you’re going with a dark shade, ask about cool-colour or heat-reflective formulas, since dark roof paint absorbs significantly more heat and that stresses both the coating and the substrate underneath over time.
Timing matters as much as product choice:
- Avoid painting below roughly 10°C (50°F) unless the product’s data sheet explicitly allows it.
- Give the coating a short protection window of 2 to 4 hours minimum before any chance of rain.
- Plan for full cure of 24 to 48 hours depending on the specific product, humidity, and temperature.
None of this is arbitrary caution. It circles back to the same number that opened this guide: up to 80% of coating failures trace to poor preparation, and rushing the weather window undoes every hour you spent scraping and priming correctly. Always check the manufacturer’s technical data sheet, whether it’s Plascon, Paintcor, or Dulux, since painting outside their stated limits can void the product warranty even if your prep work was flawless.
How do you run a test patch and plan your timeline?
A test patch removes the guesswork before you commit a full weekend to the wrong plan.
- Clean and prime a 2 to 3 square foot section exactly the way you intend to treat the whole roof.
- Apply the topcoat and let it sit for the manufacturer’s stated dry time.
- Run a scratch adhesion test on the cured patch. If the coating lifts or flakes off in strips, something in your prep sequence needs adjusting before you scale up.
- Separately, rinse a cleaned section and watch the water: if it sheets off evenly, you’re clean; if it beads, there’s still oil or wax residue and you need another degreasing pass.
A realistic timeline for an average residential roof: inspection and buying materials, one day; cleaning and chemical treatment including dwell time, one to two days; repairs and sanding, one day; priming, one day; topcoats, one to two days depending on recoat windows. Build in a weather buffer, since a delayed dry window can push the whole schedule back.
Watch the first 7 to 14 days closely for blushing (a hazy film) or any lifting at the edges. Either sign means stopping and getting a professional opinion before the problem spreads across the whole roof.
What roof painting preparation actually rewards, and what it doesn’t
The industry’s technical flowcharts, the kind Resene and Sherwin-Williams publish for contractors, exist because roofs fail in the same handful of predictable ways over and over. What surprises most homeowners is how little of that failure comes down to the paint itself. It’s almost always a skipped step: a rust spot primed over instead of ground back, a tile roof pressure-washed when it needed a soft rinse, a topcoat applied on a Saturday afternoon in direct sun because that’s when the free time appeared.
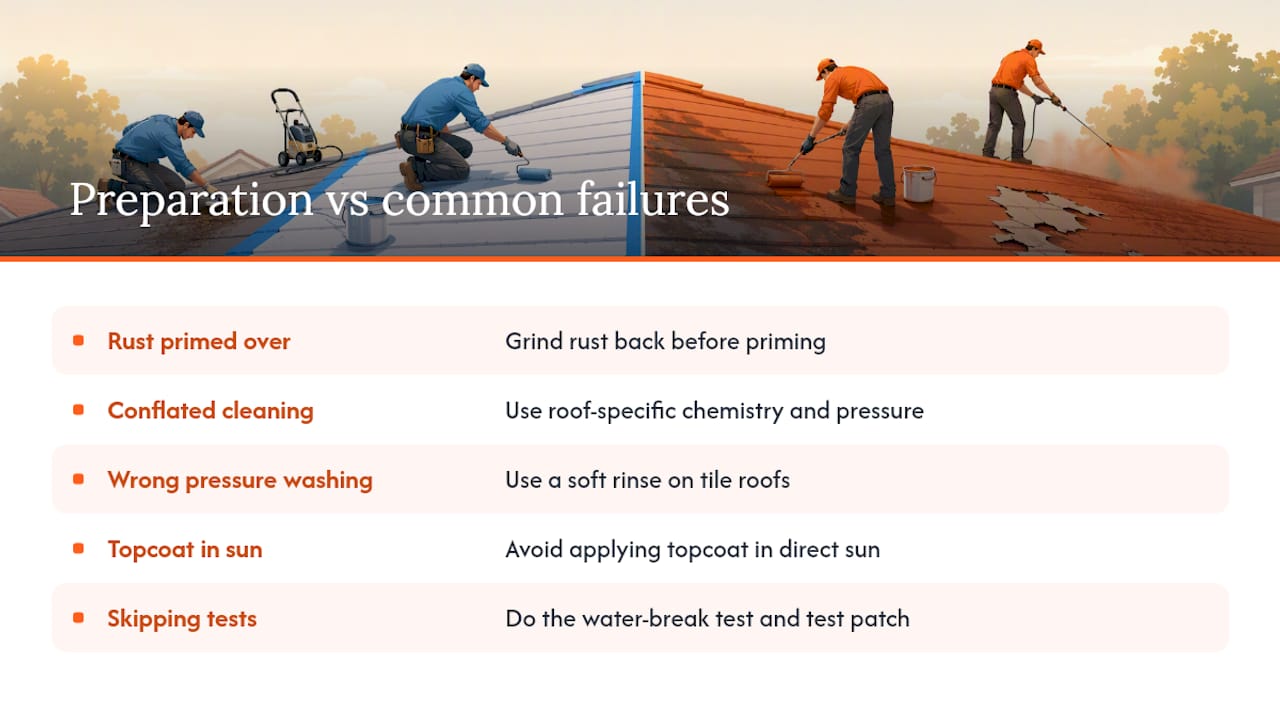
Conventional DIY advice tends to treat “cleaning” as one generic step. It isn’t. Cleaning a coastal steel roof and cleaning a mossy clay tile roof are two different jobs requiring different chemistry and different pressure, and conflating them is where a lot of otherwise careful homeowners go wrong.
If there’s one thing worth prioritizing above the rest, it’s the water-break test and the test patch together. They cost an afternoon and tell you, before you’ve bought five buckets of topcoat, whether your prep actually worked. Skipping that step to save a day is the single most common shortcut that turns into a full repaint two years later.
When should you hire a professional instead of DIY-ing your roof?
Some roofs are straightforward weekend projects. Others aren’t, and the criteria are fairly clear: steep pitch, a large roof area, extensive corrosion, any sign of structural rot, or a factory-finished metal roof where an improper prep step could void a manufacturer’s warranty. If you don’t own proper fall-arrest gear or roof access equipment, that’s also a legitimate reason to call someone rather than improvise.
Cape Apex Painters is the alternative to piecing together rented equipment and weekend hours for a roof that genuinely needs professional-grade prep. Unlike outfits that farm work out to subcontractors, Cape Apex Painters runs a full-time, in-house team, which means the person who diagnoses your roof’s problems is accountable for fixing them properly, not handing the job off to whoever’s available that week.
Their process starts with a diagnostic surface assessment matched to your specific substrate and the local climate, whether that’s UV exposure, coastal salt air, or seasonal rain, and includes specialized damp-proofing where moisture has already worked its way in. Roof systems get specified against manufacturer technical data sheets, so the finish holds up rather than becoming next year’s repaint.
If your roof ticks any of the hire-a-pro boxes above, book an inspection or request a quote and get a straight answer on what your roof actually needs before you spend a weekend finding out the hard way.
Frequently asked questions
How long should a roof dry before painting after cleaning?
Most manufacturers recommend letting a cleaned roof dry fully, typically 24 to 48 hours depending on humidity, before priming. Painting over residual moisture is one of the fastest ways to cause blistering.
Can I skip priming if the old paint is still mostly intact?
No. Even sound areas benefit from spot-priming any exposed or feathered edges, and bare metal or tile that’s been sanded needs a fresh primer coat before topcoat goes on.
What’s the fastest way to check if my roof is ready for paint?
Run the water-break test: rinse a cleaned section and watch whether water sheets evenly or beads. Beading means contamination is still present and more degreasing is needed.
Is pressure washing ever appropriate for roof painting preparation?
It depends on the substrate. Low-pressure rinsing works for most metal and tile roofs, but full pressure washing can lift factory coatings or force water under tiles, so it’s rarely the right default choice.
Do I need special paint for a metal roof versus a tile roof?
Yes. Metal needs a metal-bonding primer and roof-grade topcoat rated for steel, while concrete or clay tile needs a masonry sealer or primer to control suction before the same type of topcoat is applied.
Sources
- Surface preparation (Sherwin‑Williams)
- Painting roofs – Resene technical notes
- The right way to paint a metal roof (Family Handyman)
- What to know about repainting a corrugated COLORSTEEL® roof (MasterStroke by Resene)
- Roof cleaning tips (BobVila)