
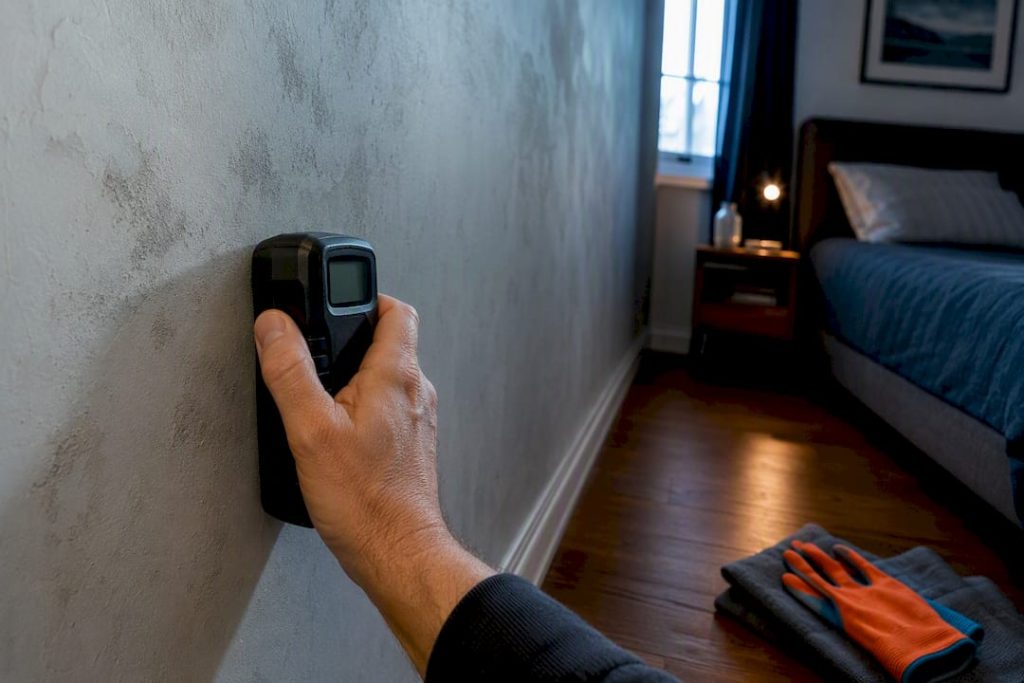
Don’t paint over active damp. Fix the moisture source first, dry the wall until a moisture meter reads under 15%, then prepare, prime, and paint. Skip a step and the paint fails within months. This preparation sequence is regarded as non-negotiable for any lasting finish, and the order matters more than the products you choose.
TL;DR:
- Moisture levels must be checked with a moisture meter and confirmed below 15% before painting, as appearances can be misleading.
- Different damp types require tailored repairs, with rising damp being the slowest to dry, sometimes taking months per meter of affected wall height.
- Surface preparation is critical; loose paint, crumbling plaster, and mold must be thoroughly removed, and cracks filled before priming and painting.
- Use breathable, vapor-permeable primers on previously damp walls that are now dry, avoiding vapour barriers that trap residual moisture.
- Seek professional assessment when damp persists, salt contamination is widespread, or structural damage occurs, to prevent costly future failures.
Table of Contents
- What type of damp is on your wall, and how do you fix it?
- How long should you wait before painting a damp wall?
- How do you prepare a damp-affected wall before painting?
- Which primer and paint work best on a previously damp wall?
- When should you call in a professional instead?
- Where DIY damp repairs usually go wrong
- How Cape Apex Painters handles damp before painting
- Sources
What type of damp is on your wall, and how do you fix it?
Not all damp behaves the same way, and treating the wrong type wastes time and money. Trade guidance consistently separates damp into three categories, each with a different repair path.
Condensation shows up as surface moisture, often with black mould spots, concentrated in bathrooms, kitchens, and poorly ventilated corners. Penetrating damp enters horizontally through a defect. Look for a damp patch that grows after rain and shrinks in dry weather. Rising damp climbs from the ground through masonry, usually capped around one metre high, often with a tide mark and crumbling plaster or skirting.
Work through this checklist before you touch a paintbrush:
- Check gutters and downpipes for blockages or overflow staining
- Inspect roof coverings and flashing for cracked or missing tiles
- Look at pointing and render for cracks that let rain track inward
- Test window and door seals, especially at the frame joints
- Rule out plumbing leaks inside walls or under floors
- Note internal moisture sources: drying laundry indoors, unvented tumble dryers, cooking without extraction
Fixing a blocked gutter or resealing a window is straightforward DIY. If you suspect a failed damp-proof course, structural cracking, or damp that keeps returning after repairs, that’s the point to bring in a specialist rather than guessing further.
How long should you wait before painting a damp wall?
Drying times vary enormously by cause, wall thickness, and ventilation. Condensation-affected surfaces can dry within days once the humidity source is controlled. Penetrating damp, once the entry point is sealed, often takes one to two weeks per centimetre of wall thickness to dry through. Rising damp is the slowest, sometimes taking months per metre of affected height, especially in solid masonry.
You can speed this up safely:
- Run a dehumidifier in the room, especially in winter or in poorly ventilated spaces
- Open windows daily and keep internal doors ajar to encourage airflow
- Avoid heating the wall directly and fast, which can crack drying plaster
A wall that looks dry rarely is. Checkatrade recommends confirming readiness with a moisture meter rather than trusting appearance, aiming for masonry and plaster readings below roughly 15%. A reliable protocol runs like this: do a visual check first, take moisture-meter spot readings at several points on the wall, then leave it ventilated and re-test 48 to 72 hours later to confirm the reading is still falling, not just low on one occasion.
A wall can feel bone dry to the touch and still read well above 15% on a meter, particularly on solid brick or old lime plaster. Cool, dark, or north-facing walls dry slower than they look, so always retest rather than relying on a single reading.
How do you prepare a damp-affected wall before painting?
Surface prep is where most DIY paint jobs quietly fail. Rushing this stage is the single biggest reason damp-affected paintwork peels again within a year.
- Strip loose or blistered paint back to a sound edge using a scraper, then a wire brush on stubborn flakes.
- Assess the plaster. If it’s crumbling, hollow-sounding, or stained through, it needs replacing rather than patching over. Where salt contamination is visible as a white, powdery bloom, remove the affected plaster and replace it with a salt‑resistant renovating plaster rather than sealing over the salts.
- Clean mould-affected areas with a dedicated mould wash, wearing gloves and a mask, and ventilate the room throughout. Rinse thoroughly and let it dry before moving on.
- Fill cracks and holes with an appropriate filler once the substrate is dry, then sand back flush once cured.
- Key the surface with a light sand across the whole area so the primer has something to grip.
Pro Tip: Run your hand across the dry wall before priming. If you feel any grit, powder, or flaking residue, sand or brush it off. Primer applied over loose dust never bonds properly, no matter how good the paint on top is.
Which primer and paint work best on a previously damp wall?
Choosing the wrong coating here undoes everything you just did. Some solvent-based “damp seal” products are vapour barriers, not repairs, and applying one over a wall that’s still actively damp traps moisture behind the film. That trapped moisture then pushes out sideways into adjacent plaster or reappears as blistering months later. These products belong on a genuinely dry substrate as a final barrier coat, not as a shortcut around drying time.
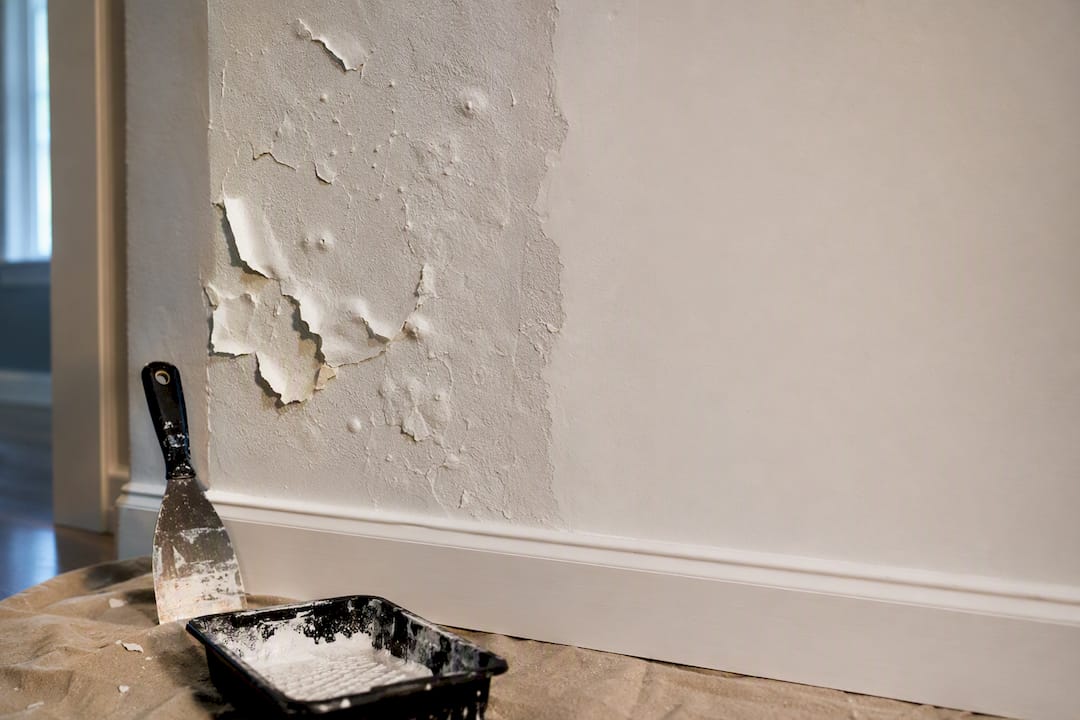
For walls that were damp but are now confirmed dry, a breathable, vapour-permeable primer is usually the safer long-term choice, particularly on older solid-wall buildings where trapped moisture has nowhere to go. Non-breathable systems can suit modern cavity walls with a sound damp-proof course, but check the product’s intended use before committing.
Application details that prevent patchy results:
- Apply a mist coat first on new or repaired plaster. Crown Paints recommends a roughly 70:30 mix of emulsion to water as the initial coat, which equalises absorption so the topcoat doesn’t dry blotchy.
- Let each coat dry fully before the next. Rushing coats on repaired areas is a common cause of visible patching later.
- Paint a small test patch first, especially over filled or replastered sections, to check colour match before committing to the whole wall.
Pro Tip: Filled patches often drink up more paint than the surrounding wall and dry a shade lighter or flatter. A mist coat over the whole wall, not just the repair, evens this out before your final colour goes on.
When should you call in a professional instead?
Some damp problems are beyond a weekend fix, and pushing ahead anyway usually costs more later. Concealing damp with paint instead of diagnosing it properly just delays repairs while the underlying damage keeps spreading.
Bring in a specialist when you see:
- A suspected or confirmed failed damp-proof course
- Widespread salt contamination across large wall sections
- Structural plaster failure, bulging, or hollow sections beyond a small patch
- Paint that has already failed two or more times on the same wall
A proper professional survey typically includes moisture logging over several days rather than a single reading, a written diagnosis of the damp type, and a repair specification before any painting starts. When you get quotes, ask specifically about the diagnostic report and any workmanship warranty offered. Some professional painters build their remedial work around exactly this preparation-first sequence, treating the diagnosis and drying stage as part of the job, not a step to skip past.
Where DIY damp repairs usually go wrong
Most repeat failures come from impatience, not ignorance. People paint the day a wall looks dry, skip the moisture meter, and reach for a damp-seal product hoping it’ll do the diagnosis for them. It won’t. Three habits fix most of this: test with a meter before every repaint, photograph problem areas so you can track whether they’re improving, and always run a test patch on repaired plaster. Plan the work for warmer, drier months when walls dry faster and windows can stay open.
— Thinus
How Cape Apex Painters handles damp before painting
If you’ve worked through the checks above and you’re still seeing damp return, or the affected area is larger than a single wall, that’s usually the point where a professional assessment saves you more time than it costs. Some professional painters approach every damp-affected property with a focus on diagnosing first, drying and confirming second, and painting last.

An inspection visit typically covers a moisture-meter survey across affected walls, identification of whether you’re dealing with condensation, penetrating, or rising damp, and a written repair specification before any coating goes near the wall. When work is carried out by an in-house team rather than subcontractors, the person who diagnoses the problem is often accountable for the finish that follows, an important factor in a climate that combines coastal salt air, UV exposure, and heavy seasonal rain. For exterior walls affected by algae or grime ahead of remedial work, a specialist exterior clean from a partner like Fresh Exteriors can also help prep the surface before repainting.
If you’d rather have someone confirm the diagnosis and handle the prep, priming, and finish properly, request a quote from Cape Apex Painters and book an assessment visit.