
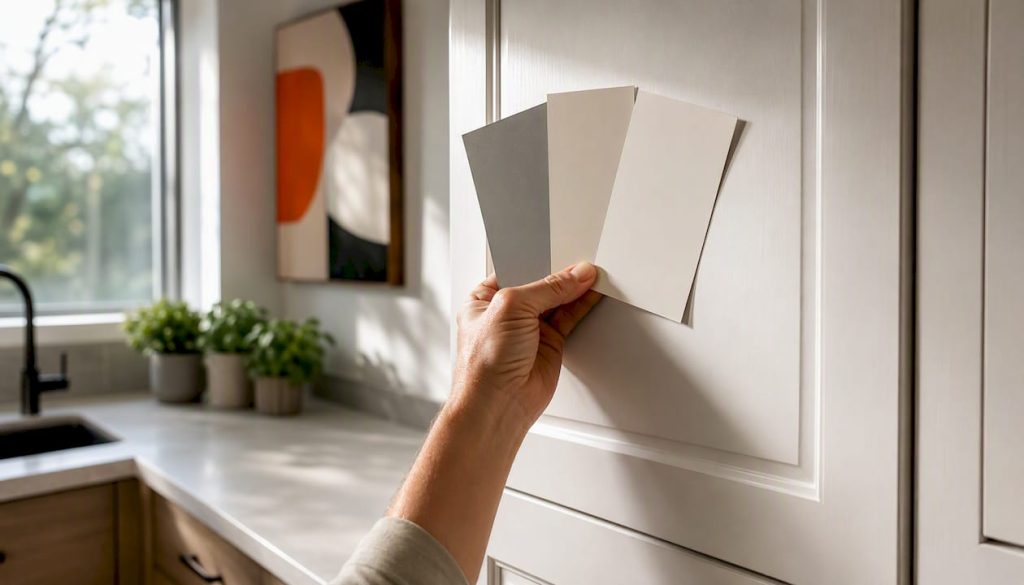
Book a 30–45 minute virtual paint colour consultation if you want fast, affordable direction on one or two rooms. Go in-home when you’re tackling a whole house, complex exterior, tricky lighting, or heritage details that need eyes on the space.
Here’s where to start:
- National brand virtual service (Sherwin-Williams, Benjamin Moore): lowest cost, fast turnaround, good for single rooms
- Brand in-store or in-home appointment (Farrow & Ball): higher-end, longer session, better for bespoke or multi-room projects
- Independent colour consultant: most tailored, typically mid-to-high price, best for whole-house or exterior schemes
- Local painting contractor with consultation included: combines advice with execution, ideal when you want one team from colour to finish
At the end of any session, you should walk away with a colour palette, a sample list, and specific paint codes you can hand directly to your painter.
Key takeaways
A professional paint colour consultation is worth the fee when it produces a written technical brief with paint codes, sheen levels, and placement instructions you can hand directly to your painter.
| Point | Details |
|---|---|
| Choose virtual for speed and budget | A 30–45 minute virtual session suits single rooms and costs $50–$150 at national brand services. |
| Choose in-home for complexity | Whole-house, exterior, or heritage projects need an in-home visit of 90–120 minutes with a full technical report. |
| Prepare photos and fixed elements | Submit daytime and evening photos, document roof, flooring, and trim before the session. |
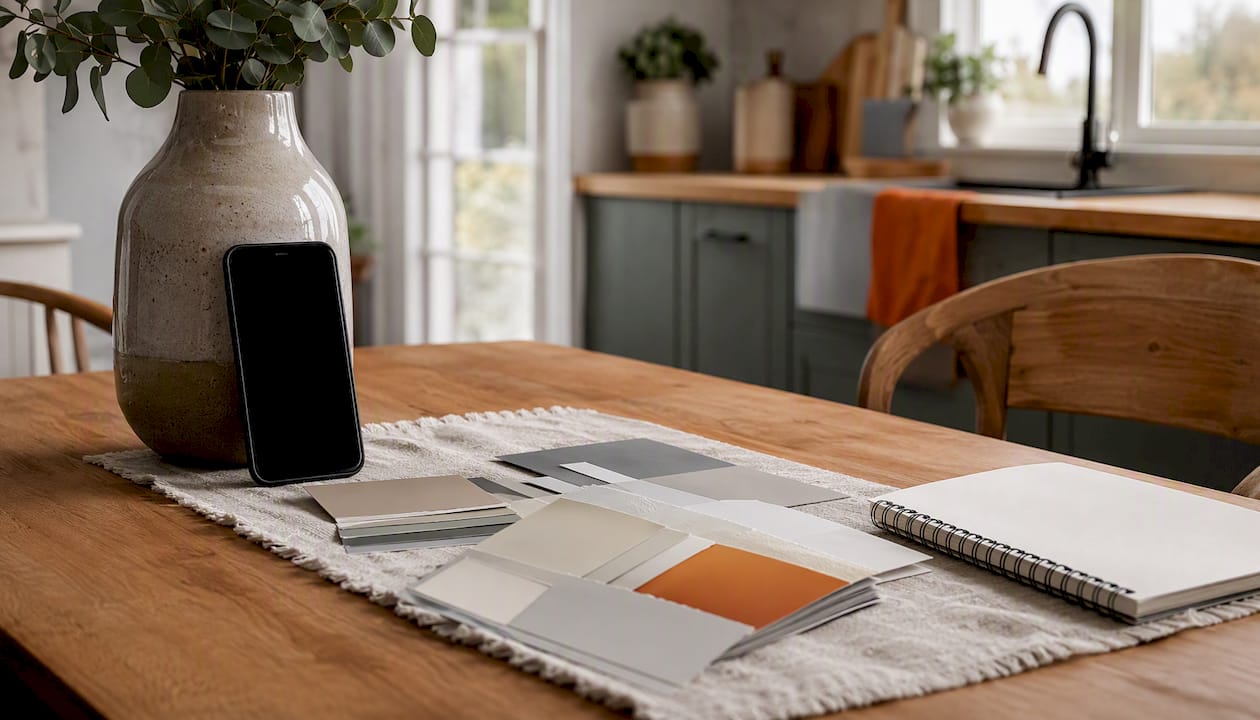
| Sample on the wall, not on card | Paint large patches directly on the wall and observe them across 48–72 hours in different light. |
| Get a written brief for your painter | The deliverable that matters most is a document with paint codes, sheen levels, and placement notes. |
Table of Contents
- What does a paint colour consultation actually cover?
- How does a virtual or in-home consultation actually work?
- What does a paint consultation cost, and how long does it take?
- What should you prepare before your consultation?
- How do you choose the right consultant and spot red flags?
- Why bold colours often work better than pale neutrals in dark rooms
- A note from a paint professional
- Sources
What does a paint colour consultation actually cover?
A colour consultation is a structured session with a trained professional who reviews your space, lighting, fixed finishes, and style preferences, then proposes a coordinated colour scheme. It is not the same as browsing a fan deck at a hardware store. The professional manages undertones, sheen levels, and how colours will read at different times of day — things that trip up even experienced decorators.
Three provider types dominate the market:
National brand services are the most accessible. Sherwin-Williams offers free live colour chat, email consultation, and a 45-minute virtual session that delivers a custom palette and free colour swatches. Benjamin Moore packages start from around $50 for an interior virtual session and $60 for exterior, with optional image rendering add-ons and mailed swatches. Both are nationwide and well-suited to single-room projects or homeowners who want a low-risk starting point.
High-end brand consultancies like Farrow & Ball offer virtual and in-home appointments starting at roughly $250–$300 per hour. Sessions are tailored in length and include palette recommendations with optional follow-ups. Worth it for bespoke interiors or when you’re working with their specific paint ranges.
Independent consultants sit between those extremes. They typically charge $150–$400 for a virtual session and $300–$600 or more for an in-home visit, depending on scope. The advantage is that they are brand-agnostic, so their palette recommendations aren’t tied to one manufacturer’s range.
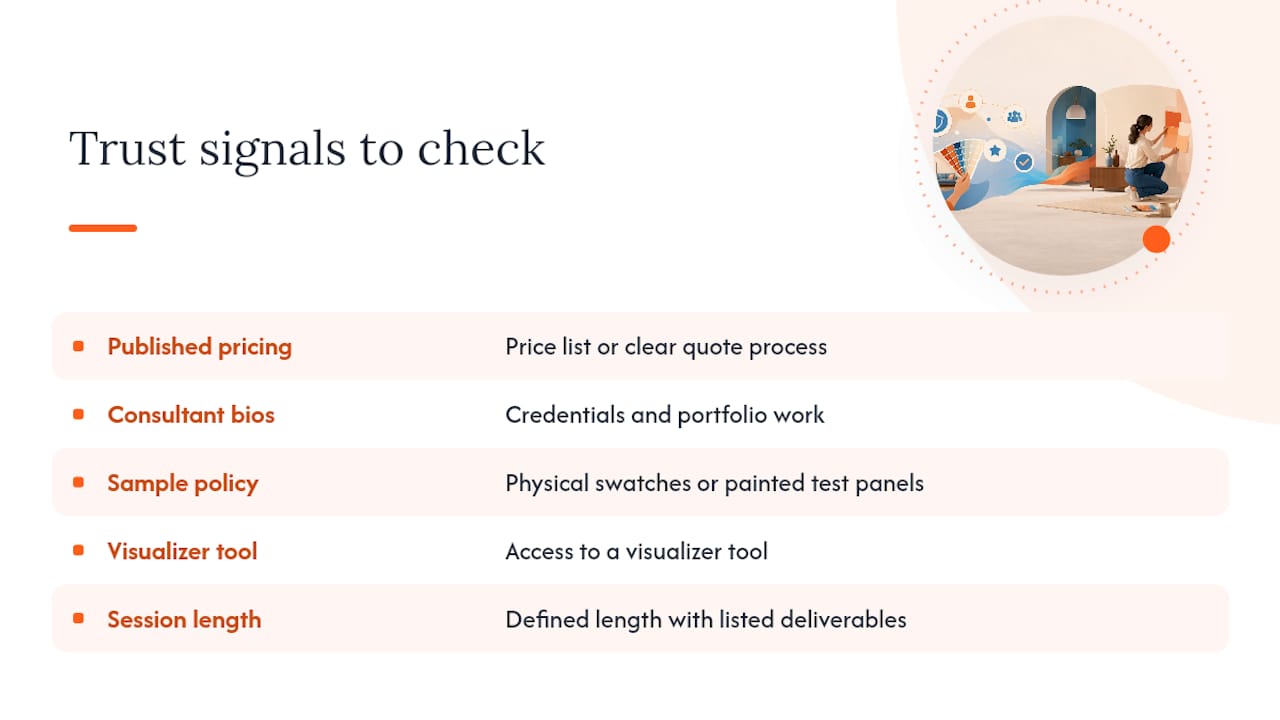
Trust signals to look for before booking any service: published pricing or a clear quote process, consultant bios with credentials or portfolio work, a stated sample policy (physical swatches or painted test panels), access to a visualizer tool, and a defined session length with listed deliverables.
How does a virtual or in-home consultation actually work?
The sequence is more structured than most homeowners expect, and knowing it helps you prepare properly.
Before the session, most consultants send a short questionnaire covering your style preferences, the room’s function, and any fixed elements you can’t change. You’ll be asked to submit photos and, for in-home visits, the consultant will assess the space directly.
During the session, the consultant works through:
- Lighting review: natural light direction, artificial light type (warm vs. cool), and how both affect colour at different times of day
- Review of fixed finishes: flooring, cabinetry, tile, trim, and any architectural features that anchor the palette
- Palette exploration: narrowing from a broad direction to 2–3 coordinated schemes
- Sampling plan: which colours to test, in what sizes, and where to place patches on the wall
After the session, you receive the deliverables. A custom colour report typically includes placement instructions (which colour goes on which wall or surface), sheen recommendations for each surface type, and the exact paint codes your painter needs. Some consultants also provide image renders showing the colours in your actual room. Benjamin Moore’s packages include optional rendering as an add-on; independent consultants often build it into higher-tier packages.
Pro Tip: Ask for your deliverables in a format your painter can use directly, specifically a written brief with paint codes, sheen levels, and placement notes. A verbal summary is not enough.
What does a paint consultation cost, and how long does it take?
The honest answer: a few hundred dollars spent on professional colour advice can prevent a repaint that costs several thousand. As Bobby Berk notes, when sampling fails and you’re still not satisfied, a paid consultation often saves money by stopping a wrong full repaint before it happens. Designers commonly offer paint-only consultations for a few hundred dollars, and that fee is almost always recovered in avoided mistakes.
Typical price bands:
- Entry-level virtual ($50–$150): 30–45 minutes, palette and codes, mailed swatches. Good for one room with straightforward lighting.
- Mid-market virtual or in-home ($150–$400): 45–90 minutes, fuller palette, sheen guidance, optional renders. Covers multi-room or exterior projects.
- High-end bespoke in-home ($300–$600+): 90–120 minutes, full technical report, follow-up session, placement instructions. Suited to whole-house or heritage projects.
Session length tracks scope almost exactly. A single-room virtual runs 30–45 minutes. Add an exterior, a second storey, or complex trim decisions and you’re looking at 90 minutes minimum. In-home visits for whole-house projects routinely run two hours.
What should you prepare before your consultation?
Good preparation cuts session time and gets you better results. Here’s what to pull together before you meet with a consultant.
Photos to submit:
- Every wall in the room, shot from the corners, not straight-on
- Windows included in frame so the consultant can read light direction
- Daytime shots (morning and afternoon if possible) and at least one evening shot with your usual artificial lighting on
- No heavy filters — consultants need accurate colour rendering
Fixed elements to document:
- Roof material and colour (critical for exterior projects)
- Brick, stone, or cladding that won’t change
- Flooring, tile, and grout
- Existing trim and cabinetry
- Key furniture pieces that will stay in the room
For exterior colour decisions, James Hardie recommends anchoring choices to fixed elements like roof, brick, and stone first, then testing samples in different light conditions, and considering the neighbourhood context before committing. That sequence applies whether you’re working with a consultant or going solo.
Collect inspiration images too. A Pinterest board or a folder of saved photos tells a consultant more about your instincts than any verbal description. Note what you like about each image: the contrast level, the warmth, the trim treatment.
For interior door colour ideas that work with your palette, this guide on interior door colours is a useful reference to bring into the conversation.
Pro Tip: Before your consultation, run a quick digital test using an AI exterior visualizer. Upload a real daylight photo of your home and test three candidate colours. A five-minute AI test catches obvious losers before you spend money on physical samples.
How do you choose the right consultant and spot red flags?
The right consultant for a single bedroom is not necessarily the right one for a whole-house exterior project. Here’s how to vet quickly.
Selection criteria:
- Documented pricing before you book, not “contact for a quote”
- Portfolio showing similar room types or project scales to yours
- Clear sample policy: do they provide physical swatches, painted test panels, or both?
- Stated method for handling undertones and lighting shifts
- Deliverables listed explicitly: paint codes, sheen guidance, placement instructions
Questions to ask before booking:
- What exactly do I receive at the end of the session?
- Do you provide physical samples or painted test panels, and are they included in the fee?
- What is your revision policy if I’m not satisfied with the palette?
- How do you handle follow-up questions after the session?
- Can you provide paint codes compatible with any brand, or only your own range?
Red flags to walk away from:
- Vague deliverables (“we’ll discuss some options”)
- No stated sample policy
- Pressure to purchase expensive paint before any testing
- No revision or satisfaction terms
- Consultant who can’t explain how they handle undertones or lighting
Pro Tip: Ask specifically whether the consultant will provide a written technical brief. A good one includes paint codes, sheen levels per surface, and placement notes. That document is what separates a useful consultation from an expensive conversation.
Why bold colours often work better than pale neutrals in dark rooms
The instinct to default small or dark rooms to white is understandable, but it often produces flat, lifeless results. Industry experts including Joa Studholme, cited in Vogue, argue that stronger, intentional colours can create depth and warmth in exactly those spaces, provided they’re sampled and placed correctly. A deep green or a warm terracotta in a north-facing room can feel grounded and rich; the same room in pale grey often just looks cold.
White is the trickiest colour of all. The Guardian reports that professional selectors routinely limit white ranges and test every candidate against a pure neutral reference, because small undertone differences on a chip can shift dramatically to blue, green, or dingy cream once applied across a full wall. A consultant earns their fee on whites alone.
A practical sampling protocol that reduces repaint risk:
- Run a digital mockup first using an AI visualizer or your consultant’s rendering tool
- Order large sample patches (at least A3 size, ideally larger) and paint them directly on the wall, not on card
- Observe the patches across at least 48–72 hours, checking morning light, midday, afternoon, and evening artificial light
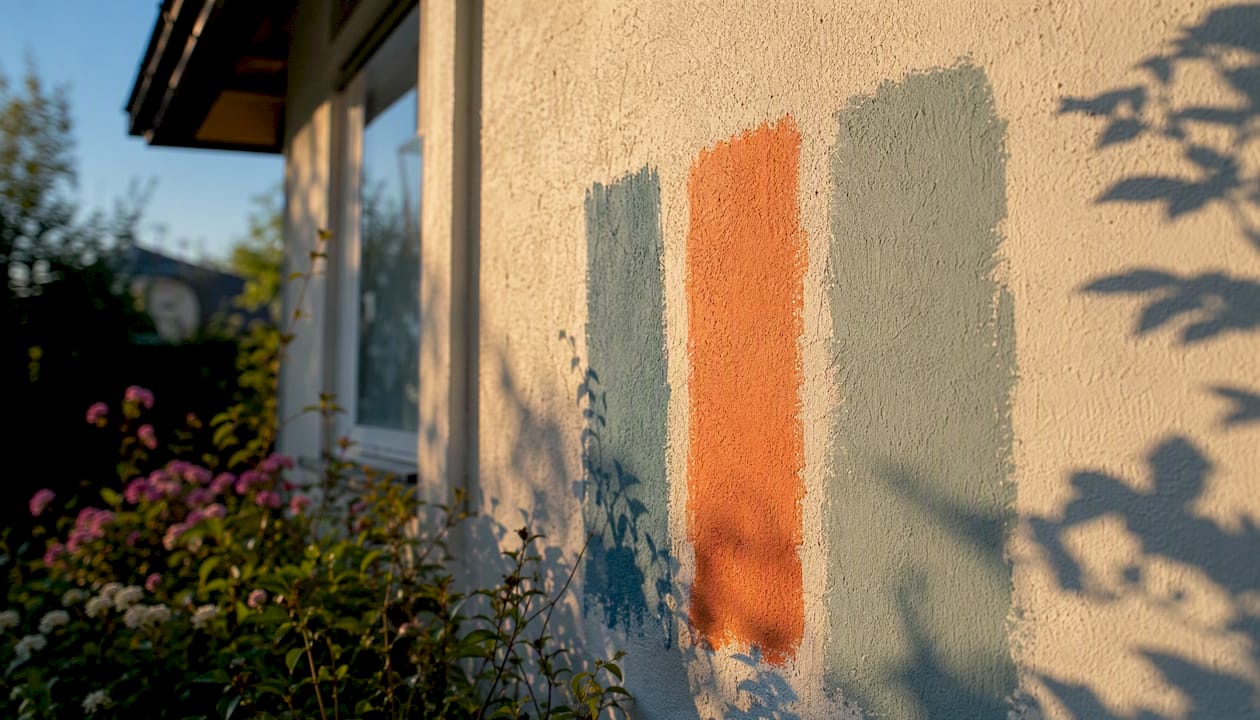
- Exterior colours read lighter in daylight and more intense over large areas than on small chips, so test large patches on the actual wall across different times of day before committing
Pro Tip: Never evaluate a paint sample on white card held up to the wall. The card’s own white border skews your perception of the colour’s undertone. Paint it directly on the wall, full stop.
A note from a paint professional
When a homeowner hands me a consultation report, the most useful ones include three things: the exact paint code, the sheen level for each surface, and a note about which colour goes where. That’s the brief I can work from without guessing. Vague direction like “a warm grey for the living room” means I’m making decisions that should have been made in the consultation.
Surface preparation matters just as much as colour selection. The best palette in the world won’t perform if the substrate isn’t right. Before any coating goes on, damp, old paint failures, and surface irregularities need to be addressed. In demanding climates with UV exposure, salt air, or heavy rain, specifying the right coating system for the substrate is as important as the colour itself. A good painter will ask about the consultation deliverables and flag any surface issues before the first coat goes down.
Sources
These resources help you test colours, plan exterior schemes, and confirm local rules before or after your consultation.
- How to Choose Exterior Paint Colors for your House | James Hardie
- How to choose a paint color | Bobby Berk
- The Color Concierge