
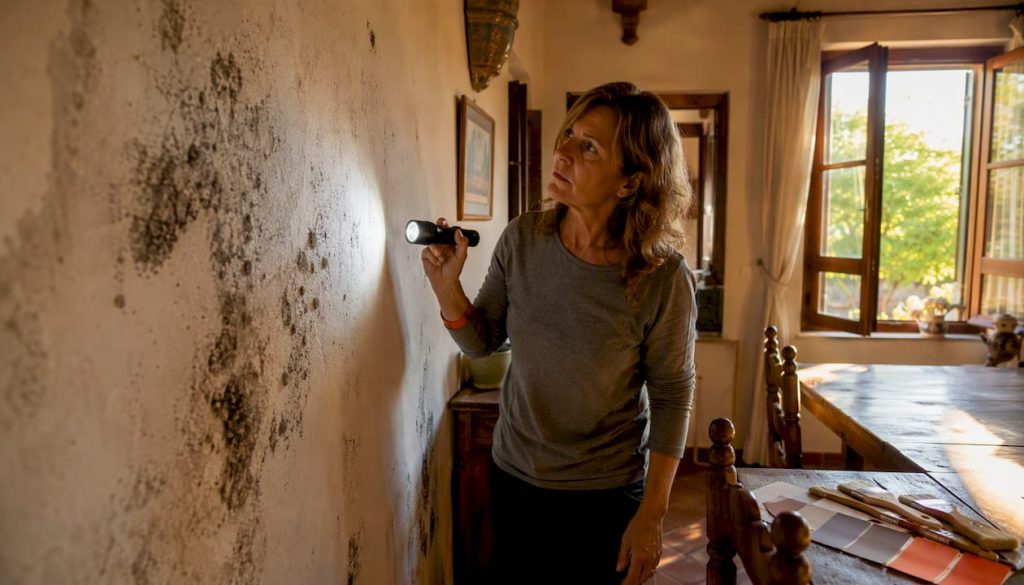
Dark patches on an interior wall are mould until proven otherwise. Small areas generally can be cleaned safely by a healthy adult following the right steps. Anything larger, recurring, or found in a home with vulnerable occupants needs a professional remediator. The EPA’s guidance is clear: mould is a moisture symptom first, a cleaning problem second.
Your immediate actions:
- Stop disturbing the area (no dry brushing, no vacuuming without a HEPA filter)
- Open a window in the affected room if it vents outside
- Keep children, elderly residents, and anyone with asthma or a compromised immune system out of the room
- Photograph the patch before touching anything
The common rule of thumb is that patches under 10 square feet are manageable for DIY cleaning by a healthy adult. Anything larger, or if the wall feels soft and spongy, call a professional before doing anything else.
Table of Contents
- How to tell if the dark patches are mould on your walls
- Is mould in your house actually harmful?
- Why mould grows on interior walls
- Safe DIY removal steps for small patches
- When to hire a professional remediator
- How to stop mould coming back
- Testing and inspections: when to look inside the walls
- Common misconceptions about bleach, painting over mould, and containment
- Key takeaways
- The fix most homeowners skip
- Useful sources and further reading
- Damp-proofing and repainting done right
How to tell if the dark patches are mould on your walls
Not every dark stain is mould, but the signs are usually readable if you know what to look for.
Visual clues:
- Fuzzy or powdery texture rather than a flat water stain
- Colours ranging from black or dark green to brown, gray, or even white (early-stage)
- Growth concentrated in corners, window reveals, behind furniture, or along external walls
- Paint that is bubbling, peeling, or lifting away from the surface beneath
- Stains that return within weeks of being wiped down
Odour and touch:
- A persistent musty or earthy smell, even after the room has been aired
- Wall surface that feels soft, crumbles slightly under gentle pressure, or sounds hollow when tapped
A simple in-place check: Press the wall firmly with two fingers. Firm resistance suggests the substrate is intact. Any give, sponginess, or crumbling means the drywall or plaster has been compromised and DIY cleaning is off the table.
Pattern matters too. Speckled growth in upper corners almost always signals condensation. Tide marks or halos near baseboards point toward penetrating or rising damp, which is a structural issue, not a ventilation one. Photograph both the pattern and the location before you do anything else.
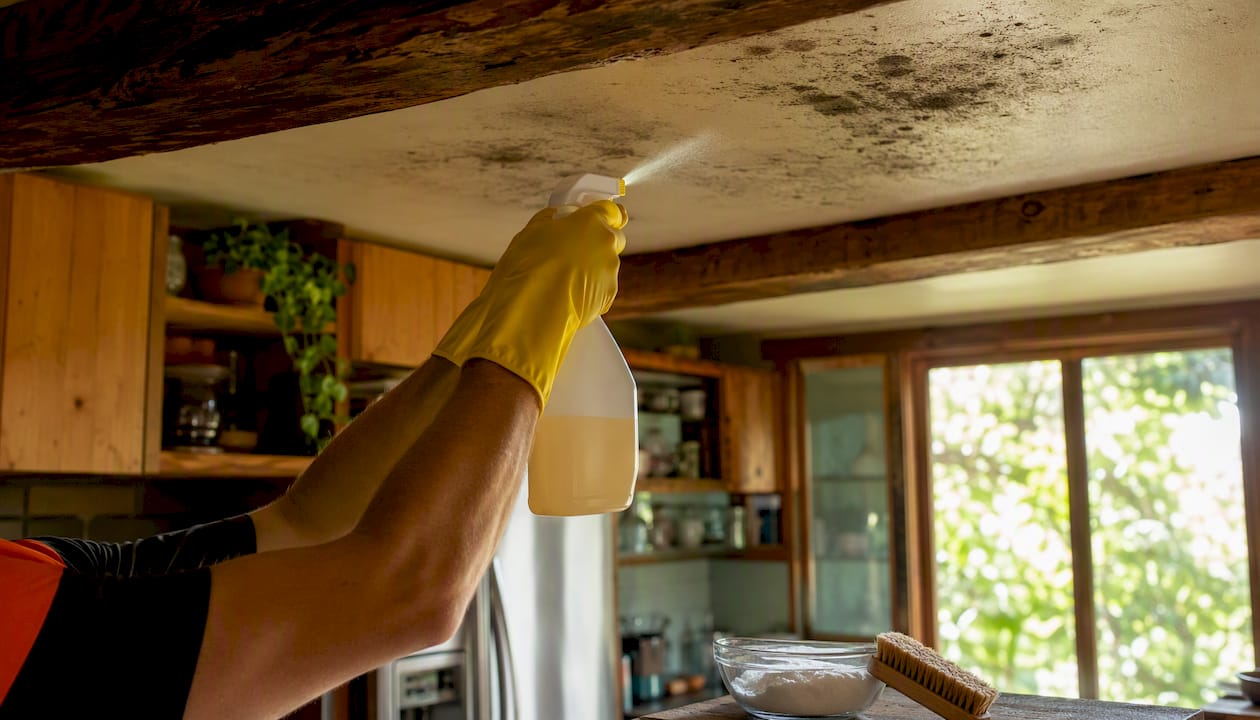
Pro Tip: Take photos under a bright torch or phone flashlight held at a low angle. The raking light reveals texture that flat overhead lighting hides, and the photos give a contractor or inspector a useful baseline.
Is mould in your house actually harmful?
The short answer is yes, though the degree of risk depends on the species present, how long exposure has been going on, and who is living in the home.
The CDC identifies several groups who should not attempt mould cleanup themselves and who face elevated health risks from exposure:
- People with mould or environmental allergies
- Anyone with asthma or a chronic respiratory condition
- Immunocompromised individuals (including those on chemotherapy or immunosuppressant medications)
- Children and infants
- Pregnant people
Common symptoms from mould exposure include nasal congestion, coughing, wheezing, eye irritation, and skin reactions. In sensitive individuals, even brief exposure to a small patch of black mould on walls can trigger an asthma attack or a significant allergic response.
If anyone in the household develops symptoms that worsen at home and improve when away, that pattern is worth mentioning to a doctor. This article is general information, not medical advice — consult a healthcare professional if symptoms appear or worsen.
Why mould grows on interior walls
Mould needs three things: a surface, warmth, and moisture. The surface and warmth are always present in a home. Moisture is the variable you can control.
The four main moisture sources:
- Condensation: Warm, humid air hits a cold wall surface and water droplets form. This is the most common driver in modern, well-sealed homes. Bathrooms, kitchens, and bedrooms with poor airflow are the usual suspects.
- Poor ventilation: Without adequate air exchange, humidity from cooking, showering, and even breathing accumulates. Building specialists note that in airtight modern homes, condensation from poor ventilation causes more black mould on walls than structural leaks do.
- Plumbing leaks: A slow drip inside a wall cavity can feed mould for months before any visible staining appears on the surface.
- Penetrating or rising damp: Water entering through the building fabric (cracked render, failed flashings, bridged damp-proof courses) creates persistent wet patches that cleaning alone will never fix.
Behaviours that make it worse:
- Drying laundry indoors without ventilation
- Pushing furniture flush against external walls (traps cold air, creates a dead zone)
- Keeping rooms cold to save on heating, which lowers the dew point of wall surfaces
- Blocking trickle vents or keeping windows permanently shut
Room-by-room, the pattern is predictable. Bathrooms and kitchens generate the most moisture. Bedrooms on external corners, especially in older homes with single-skin walls, are cold-bridge hot spots. Basements and below-grade rooms face rising damp and groundwater pressure.
Safe DIY removal steps for small patches
Only attempt DIY removal when the affected area is under 10 square feet, the wall substrate feels firm, and no vulnerable occupants are present. That is the EPA’s rule of thumb for when professional evaluation becomes necessary.
PPE and containment before you start:
- N95 respirator (not a basic dust mask)
- Safety goggles without ventilation holes
- Disposable nitrile gloves
- Old clothes or disposable coveralls
- Close all interior doors to the room; open a window that vents directly outside
- Lay plastic sheeting on the floor to catch debris
Step-by-step removal:
- Vacuum first (if you have a HEPA vacuum). Run the nozzle lightly over the patch to capture loose spores before wetting the surface. Skip this step if you only have a standard vacuum — it will spread spores.
- Apply your cleaning product. Spray or sponge on the solution and let it sit for the contact time specified on the label. Do not wipe immediately.
- Scrub gently with a disposable cloth or soft brush. Work from the outer edge inward to avoid spreading the colony.
- Rinse with clean water and a fresh cloth. Repeat the application if staining remains.
- Dry the surface thoroughly. Use a fan directed out the window or a dehumidifier. Professionals target wood and plaster moisture to a low level within 24 hours to prevent mold regrowth; a basic moisture meter (available at most hardware stores for under $30) tells you when you are there.
- Bag all materials immediately in sealed plastic bags and dispose of them in your outdoor bin. Do not carry open bags through the house.
Choosing a cleaning product:
Fungicidal cleaners designed for painted surfaces are safer for finishes than bleach and more effective on porous substrates. Three products widely available in the U.S. worth considering:
- Concrobium Mold Control: A non-bleach formula that works by physically crushing mould cells as it dries. Suitable for painted drywall and plaster.
- Mold Armor: A range that includes ready-to-use sprays for bathroom and wall surfaces; follow label contact times carefully.
- RMR-86: A fast-acting stain remover and mould treatment. Stronger than the others — use in well-ventilated spaces and follow PPE guidance on the label.
White vinegar is a lower-toxicity option for very small patches on non-porous painted surfaces, though research suggests it may not permanently eliminate mould in porous substrates.
What not to do:
- Do not dry-scrub or sand the area (aerosolizes spores)
- Do not paint over mould without removing and drying the substrate first
- Do not over-saturate plaster or drywall (adds moisture, worsens the problem)
- Do not use undiluted bleach on painted walls (discolours finishes and fails to penetrate porous materials)
When to hire a professional remediator
Some situations make DIY removal the wrong call, regardless of how confident you feel.
Call a professional when:
- The visible growth covers more than 10 sq ft
- Mould returns to the same spot within a month of a proper clean and dry
- The wall feels soft, spongy, or crumbles under pressure
- Growth appears in multiple rooms or on multiple walls
- The moisture source was sewage, floodwater, or contaminated water
- Any household member has asthma, allergies, or a compromised immune system
Visible mould is often only a fraction of the actual growth — colonies frequently extend into wall cavities, behind wallpaper, or inside insulation. A professional remediator following IICRC S520 standards will set up containment, run HEPA air filtration, remove contaminated porous materials, and conduct clearance testing when the scope warrants it.
Typical scope and cost:
| Scenario | Typical approach | Rough cost range | Timeline |
|---|---|---|---|
| Small DIY clean (under 10 sq ft) | Fungicidal cleaner, PPE, fan drying | $20 in materials | 2–4 hours + 24 hr drying |
| Professional remediation (moderate) | Containment, HEPA, material removal | $500–$3,000+ (varies widely) | 1–3 days |
| Extensive hidden growth | Full cavity inspection, cut-out, rebuild | Thousands of dollars | Several days to weeks |
Cost ranges are indicative. Get at least two written quotes from licensed contractors in your area before committing.
Questions to ask a remediation contractor:
- Are you certified (IICRC, NORMI, or equivalent)?
- What containment and filtration methods do you use?
- Do you offer clearance testing after the work is complete?
- Are you insured, and do you provide a written scope of work?
- What happens if mould returns within a defined period?
Statistic callout: The EPA’s 10 sq ft threshold is a practical guide, not a legal limit. A patch that is 9 sq ft on a wall with soft, damaged drywall still warrants professional assessment.
How to stop mould coming back
Cleaning removes the symptom. Fixing the moisture source removes the problem.
Priority fixes (do these first):
- Install or repair exhaust fans in bathrooms and kitchens, vented directly outside (not into the roof cavity)
- Fix any plumbing leaks, even slow drips
- Maintain consistent indoor heating to keep wall surface temperatures above the dew point
- Add insulation to cold bridges (external corners, window reveals, areas where the wall is noticeably colder)
Routine controls:
- Keep indoor relative humidity below 50% (the EPA-recommended upper limit for mould prevention)
- Run extractor fans during and for 15–20 minutes after cooking or showering
- Avoid drying laundry indoors without mechanical ventilation
- Pull furniture a few inches away from external walls
Product categories worth considering:
| Product type | Best use case | Notes |
|---|---|---|
| Bathroom/kitchen extractor fan | High-humidity rooms | Must vent outside, not into roof space |
| Positive input ventilation (PIV) | Whole-house condensation control | Suited to persistently damp homes |
| Dehumidifier | Basements, rooms without opening windows | Target below 50% RH; empty reservoir regularly |
| Anti-mould paint/primer | Repainting after remediation | Use as a layer of defence, not a substitute for fixing moisture |
| Hygrometer | Monitoring humidity levels | Inexpensive; place in problem rooms |
Anti-mould paint is a useful final layer, but it will not stop mould growing through it if the underlying moisture problem is unresolved. Think of it as the last line of defence, not the first.
Testing and inspections: when to look inside the walls
Visual inspection handles most household mould situations. Testing becomes worth the cost when the problem keeps returning or when you cannot find the moisture source.
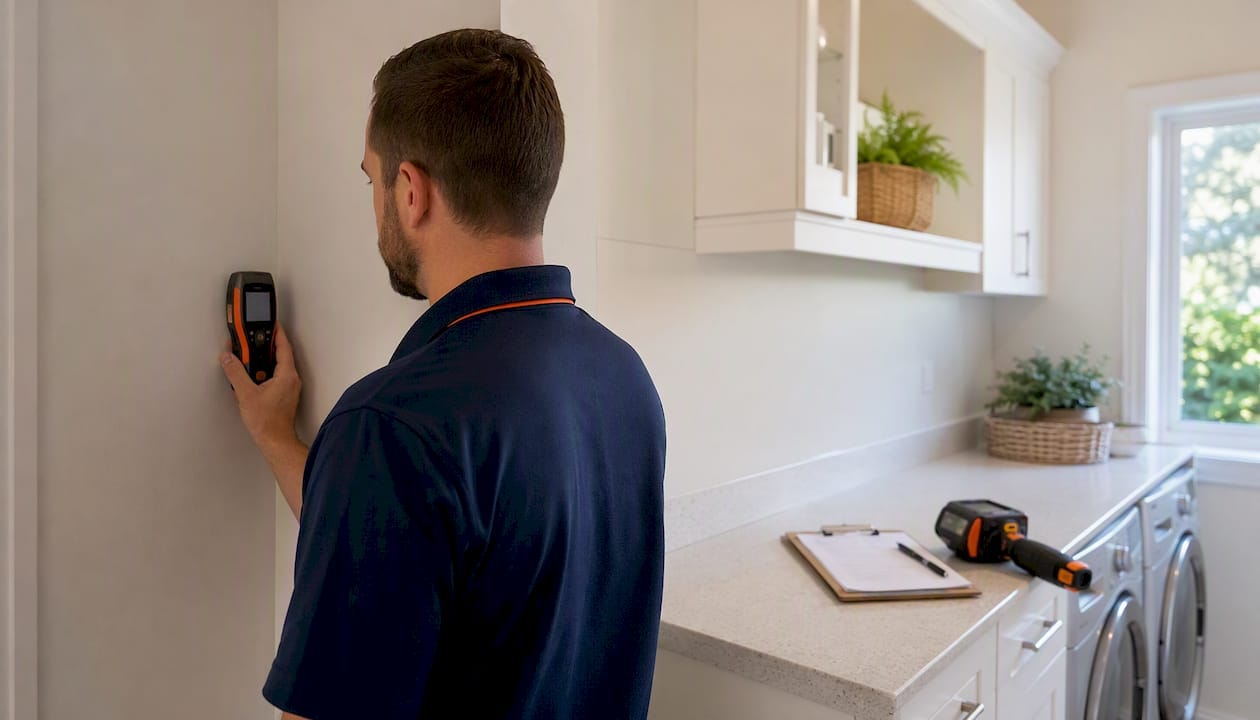
Comparison of inspection methods:
| Method | What it shows | Limitations |
|---|---|---|
| Visual inspection | Surface growth, staining patterns, paint damage | Misses hidden growth entirely |
| Moisture meter | Elevated moisture in wall substrate | Does not confirm mould species or extent |
| Borescope (camera probe) | Growth inside cavities via small drilled hole | Requires drilling; limited field of view |
| Air sampling | Airborne spore counts and species | Expensive; results vary with conditions; rarely changes the remediation plan |
Health Canada’s guidance makes a practical point: identifying the exact mould species is rarely necessary for routine household problems. The remediation approach is the same regardless of species. Air sampling is most useful when a legal dispute, insurance claim, or clearance verification is involved.
Signs that suggest hidden growth:
- Musty odour persists after a thorough surface clean and full drying
- Mould returns to the same patch within a month of proper treatment
- Soft or discoloured drywall with no obvious surface growth
- Water staining patterns that do not match any known leak
If hidden growth is suspected, the practical next steps are: dry the area aggressively, monitor for return, and if the problem persists, commission a professional intrusive inspection or cut-out. A moisture meter reading above 20% in drywall or plaster after several days of drying is a strong signal that something is still wet behind the surface.
Common misconceptions about bleach, painting over mould, and containment
The bleach problem: Bleach is the default choice for many homeowners, but painting contractors and remediation specialists consistently flag its limits. On porous surfaces like plaster and drywall, bleach’s active ingredient (sodium hypochlorite) does not penetrate deeply enough to reach mould roots. It bleaches the stain, which looks like success, but the colony survives and regrows. On painted walls, it can strip colour and damage the finish. Fungicidal cleaners formulated for interior surfaces are the better choice.
Painting over mould never works long-term. Health Canada’s guidance is direct on this: painting over an active or incompletely dried mould patch traps moisture and feeds continued growth beneath the new coat. The correct sequence is strip, treat, dry to target moisture levels, then recoat with an appropriate anti-mould primer and topcoat.
Containment at DIY scale: Professional remediators use sealed plastic sheeting, negative air pressure, and HEPA air scrubbers. For a small DIY clean, a scaled-down version still matters: close interior doors, open an exterior window, and bag all waste immediately. Remediation pros emphasize that cross-contamination during removal is a common way a small problem becomes a whole-house problem.
Pro Tip: Before repainting any wall that has had mould, apply a dedicated anti-mould primer (not just anti-mould paint). The primer penetrates the substrate and provides a fungicidal barrier that topcoat paint alone cannot deliver.
Authoritative sources to consult:
- EPA mould guidance for remediation thresholds and safety
- CDC mould cleanup guidance for health risk assessment
Key takeaways
Mould on walls is a moisture problem first: fix the source, remove the growth safely, dry thoroughly, and prevent recurrence through ventilation and consistent heating.
| Point | Details |
|---|---|
| 10 sq ft threshold | Patches under 10 square feet are generally safe for healthy adults to clean; larger areas need a professional. |
| Fix moisture first | Cleaning without addressing the moisture source means mould returns within weeks. |
| Bleach is unreliable | Fungicidal cleaners (Concrobium, Mold Armor, RMR-86) outperform bleach on porous interior surfaces. |
| Dry to target levels | Professionals aim for plaster and wood to be very dry before repainting or sealing. |
| Capeapexpainters | For preparation-first damp-proofing and repainting after remediation, Capeapexpainters assesses the substrate before any coating goes on. |
The fix most homeowners skip
Most guides stop at “clean it and repaint.” The part that actually determines whether mould comes back is what happens between those two steps: the drying, the substrate assessment, and the primer choice.
Homeowners are often surprised to learn that a fresh coat of anti-mould paint applied over a wall that tested at 18% moisture will fail within a season. The paint traps the moisture, the mould finds a way through, and the cycle repeats. The cleaning was fine. The timing was wrong.
The other thing worth saying plainly: the 10 sq ft rule is a guide, not a guarantee. A 9 sq ft patch on a wall with soft drywall and a musty smell that persists after cleaning is a professional job. The rule exists to give homeowners a starting point, not to justify pushing the limit.
For anyone dealing with recurring growth, the most cost-effective move is usually a professional moisture survey before spending money on cleaning products or repainting. Knowing exactly where the water is coming from costs less than two rounds of remediation.
Document everything. Photograph the growth before and after cleaning, keep receipts for materials and contractor quotes, and note dates. If the problem is linked to a building defect or a landlord’s failure to maintain the property, that paper trail matters.
Useful sources and further reading
These are the primary authorities referenced throughout this article. Each one is worth bookmarking for your specific situation.
- EPA: A Brief Guide to Mold, Moisture, and Your Home — The U.S. standard reference for remediation thresholds, the 10 sq ft rule, and safe DIY practices. Start here.
- CDC: Mold Cleanup Guidelines — Health risk assessment, who should avoid cleanup, and safety precautions. Particularly useful if vulnerable occupants are involved.
- Rawlins Paints: How to Remove Mould from Painted Walls — Painting contractor perspective on why bleach damages finishes and which fungicidal products protect painted surfaces.
For building-specific or jurisdiction-specific issues (structural damp, landlord obligations, insurance claims), consult a licensed inspector or remediation contractor in your area. Online guides, including this one, cannot substitute for an in-person assessment of your specific wall.
Damp-proofing and repainting done right
Cleaning mould is step one. What happens to the wall after that determines whether the problem stays solved.

Capeapexpainters takes a preparation-first approach to every surface: substrate assessment before any coating, damp-proofing where the wall needs it, and the right primer for the conditions. No paint goes on until the wall is genuinely ready. That process is what separates a finish that lasts from one that peels or grows mould again within a year.
If you are in Cape Town, the Cape Winelands, or the Overberg and need professional damp-proofing or remedial repainting after mould remediation, get a quote from Capeapexpainters. An in-person assessment costs nothing and gives you a clear picture of what the wall actually needs before any work begins.