
Fix the source first, not the symptom. Before you touch a paintbrush or call in a specialist, work out whether you’re dealing with rising damp, penetrating damp, or condensation, because each has a different cause and a different fix. Stop the moisture at its source before you paint over anything.
- Isolate any visible leaks (pipes, gutters, roof flashing) immediately
- Improve ventilation in bathrooms and kitchens today, not next week
- Call a surveyor if damp is spreading fast or you see cracking, timber rot, or structural movement
A handheld moisture meter reading and a proper damp survey cost far less than redoing a paint job that fails in six months. Cape Apex Painters carries out on-site diagnostic assessments across the Cape Town, Cape Winelands, and Overberg region before any prep work begins.
Key Takeaways
Damp walls only get fixed permanently when you identify the correct type, remove the source, and let the wall dry fully before redecorating.
| Point | Details |
|---|---|
| Diagnose before treating | Rising, penetrating, and condensation damp need different fixes; misdiagnosis wastes money. |
| Fix the source, not the symptom | Clear gutters, repair flashing and pointing, and improve ventilation before any internal treatment. |
| Respect drying time | Salt-contaminated plaster needs salt-resistant replastering and can take months to fully dry before painting. |
| Get a survey when unsure | A proper damp survey maps moisture readings against wall construction before recommending treatment. |
| Cape Apex Painters handles prep and paint together | Their in-house teams assess damp on site, replaster with salt-resistant materials, and finish with climate-suited coatings across the Cape Town, Cape Winelands, and Overberg region. |
Table of Contents
- What are the three types of damp walls?
- How do you check for damp in walls yourself?
- What should you do immediately about damp walls?
- What actually fixes damp walls permanently?
- How long should damp walls dry before you repaint?
- How can you prevent damp walls from coming back?
- When should you call a professional damp surveyor?
- How Cape Apex Painters handles damp before it paints
- Sources
What are the three types of damp walls?
Rising damp climbs from the ground through capillary action, often stopping at a moderate height, and typically leaves a visible tide mark with a crust of white salts (efflorescence) as water evaporates and minerals get left behind. Penetrating damp comes from a defect somewhere in the building envelope, a cracked render, a leaking gutter, a failed flashing, and it shows up as a patch that tracks a specific pattern, often worse after heavy rain and unrelated to height. Condensation forms when warm, moist air meets a cold surface, and it clusters on cold spots: corners, behind furniture, around window frames, frequently with black mould rather than salt staining.
- Rising damp — tide marks, salt crystals, confined to lower walls
- Penetrating damp — irregular patches tied to a specific external defect, worsens with rain
- Condensation — surface moisture and mould on cold spots, worse in winter, no salt staining
Misdiagnosis is the costliest mistake in this whole process. Treating condensation as if it were rising damp leads homeowners into unnecessary damp proof course injection while the real driver, poor ventilation, keeps making the problem worse.
How do you check for damp in walls yourself?
Start with your eyes before you buy any equipment. Look for tide marks, powdery salt deposits, peeling paint, bubbling plaster, and note exactly where mould is growing, since its location tells you more than its presence ever will.
- Check whether the damage worsens after rain (points to penetrating damp) or in cold weather with poor airflow (points to condensation)
- Feel the wall for a cold, clammy surface, common with condensation and thermal bridging
- Look outside for blocked gutters, cracked render, or missing pointing directly above or beside the affected patch
- Check ground levels: soil, decking, or paving piled against the wall above the damp proof course is a classic rising damp trigger
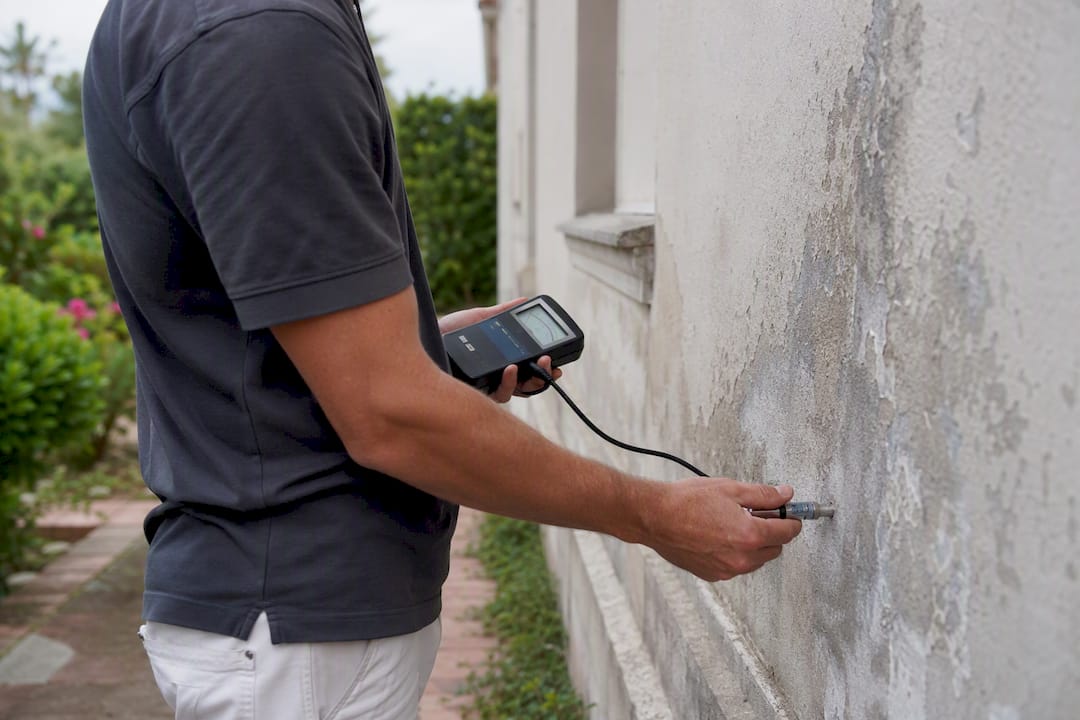
A handheld moisture meter gives you a rough surface reading, and comparing that reading against the pattern of rainfall and wall height helps separate penetrating damp from rising damp. Readings that stay high regardless of recent weather, paired with a musty smell and no obvious external defect, often point to a hidden plumbing leak or a bridged damp proof course behind a flower bed or raised path.
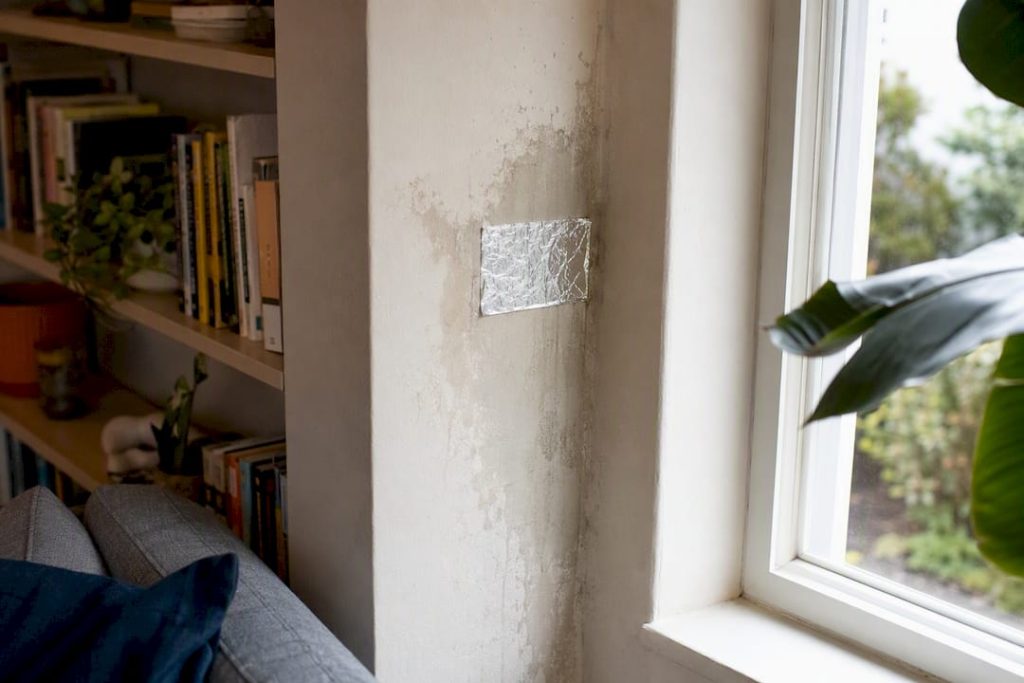
Pro Tip: Press a small mirror or a piece of foil against the suspect patch overnight. Condensation forming behind it means the moisture is airborne, not rising through the masonry.
What should you do immediately about damp walls?
You cannot fix the underlying cause overnight, but you can stop it getting worse while you arrange proper repairs.
- Clear gutters and downpipes so rainwater isn’t overflowing against the wall
- Run extractor fans during and after showers and cooking, every time
- Crack a window daily, even in winter, to let moist air escape
- Move furniture away from affected walls so air can circulate behind it
- Use a dehumidifier in the room, but empty and clean it regularly so it doesn’t just recirculate spores
- Dry laundry outdoors or in a vented tumble dryer, avoiding indoor drying racks
Avoid the temptation to slap on a waterproof paint or sealant as a quick cover-up. Impermeable coatings trap moisture inside the wall instead of letting it escape, which often pushes the damp sideways or upward and makes the eventual repair more expensive. Painting or plastering over a damp patch without fixing the source is not a repair. It’s a delay, and usually a short one.
What actually fixes damp walls permanently?
The right permanent fix depends entirely on which type of damp you’re dealing with, and jumping straight to the most invasive option is a common, expensive error.
For rising damp, a damp proof course injection is only worth doing when the original DPC has genuinely failed or was never installed, and it must be followed by hacking off contaminated plaster and rebuilding with salt-resistant renovation plaster, since the old plaster is often saturated with hygroscopic salts that will keep drawing in moisture regardless of the new barrier below.
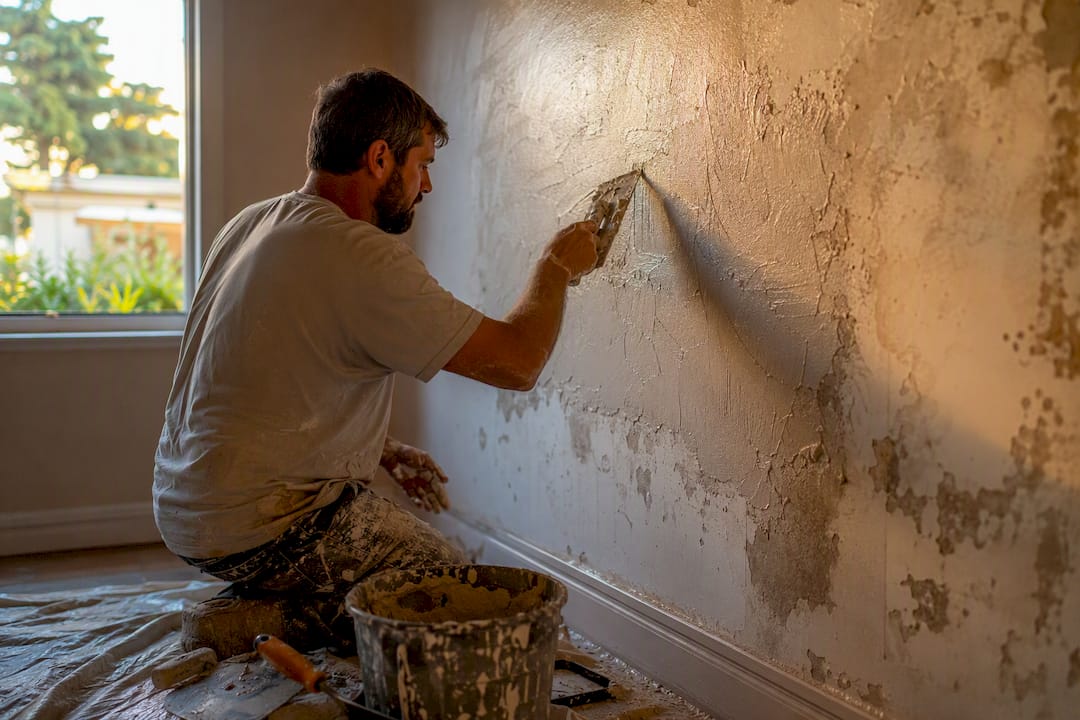
For penetrating damp, fix the external defect first: repoint brickwork, repair flashing, clear gutters, seal cracked render. Only once the source is closed should you patch the internal finish; redecorating before that just hides a problem that’s still active.
For condensation, the fix is ventilation, consistent background heating, and improved insulation at cold spots, not an internal membrane. Restoring a wall’s ability to breathe usually outperforms sealing it, particularly in older solid-wall construction where trapped moisture has nowhere to go.
- Never inject a DPC without also replastering the affected area
- Never treat a cold-spot mould patch as rising damp just because it’s on an exterior wall
- Call in a specialist structural drying programme when a wall stays saturated for weeks despite dehumidifiers, since portable units often can’t extract moisture deep in a masonry core
How long should damp walls dry before you repaint?
Rushing this step is where most damp repairs fail, even when the underlying cause was fixed correctly.
- Hygroscopic salts left in old plaster continue drawing moisture from the air long after the leak or rising damp source is gone, which is why salt-contaminated plaster needs to be hacked off and replaced with salt-resistant material rather than simply left to dry out.
- Check moisture meter readings before you paint. Readings should be low and stable across several visits, not just on the day you happen to check.
- Drying can take anywhere from a few weeks for minor penetrating damp to several months for a wall that’s had rising damp treatment, depending on wall thickness and how saturated the masonry was.
Pro Tip: Don’t rely on a single dry-looking day. Take moisture readings at the same spot over two or three weeks, ideally after a spell of typical weather, before you commit to a finish coat.
How can you prevent damp walls from coming back?
A short seasonal routine catches most problems before they reach the inside of your walls.
- Clean gutters and downpipes at least twice a year, more often near trees
- Keep soil, mulch, and paving at least 150mm below the damp-proof course
- Keep air bricks and through-wall vents clear of plants, paint, or debris
- Run extractor fans in bathrooms and kitchens every time you shower or cook
- Open trickle vents and crack windows daily, even in winter
- Inspect roof tiles, flashing, and pointing annually, ideally before the rainy season
- Add insulation at cold bridges, like solid lintels or uninsulated corners, to reduce condensation risk
Upgrading older, draughty doors and windows also reduces thermal bridging, which cuts down on the cold surfaces where condensation likes to form.
| Point | Details |
|---|---|
| Maintenance is cheapest fix | Clear gutters, fix pointing, and check flashing before considering internal damp-proofing. |
| Ventilate daily | Run extractors and open trickle vents to cut condensation, the most common indoor damp cause. |
| Keep ground levels low | Soil and paving above the damp proof course is a common, avoidable rising-damp trigger. |
When should you call a professional damp surveyor?
Some situations are beyond safe DIY territory, and knowing where that line sits saves you money in the long run.
- Damp is spreading across multiple walls or rooms with no obvious single source
- You see timber rot, sagging floors, or cracking plaster alongside the damp
- Mould keeps returning despite consistent ventilation and heating
- You can’t tell whether the damp is rising, penetrating, or condensation, even after checking
A competent survey starts with non-invasive moisture mapping across the affected area, moves to targeted invasive checks only where needed, and ends with a written diagnosis and a staged treatment plan covering repairs, drying time, replastering, and redecoration.
A proper damp assessment doesn’t guess. It maps moisture readings against the wall’s construction, checks external defects against the interior pattern, and only then recommends a treatment plan, because guessing wastes money on the wrong fix.
Cape Apex Painters builds that diagnostic step into every damp-related job: surface preparation that addresses the salts left by rising damp, salt-neutralising replaster where needed, and post-treatment moisture verification before any new coating goes on. That sequence is what keeps a repainted wall looking right two years later instead of six months later.
A practical take from working around damp-prone properties
Most wasted money on damp isn’t the diagnosis, it’s the rush to redecorate. Careful prep and measured drying prevent the rework that eats budgets twice. Fix the source, wait out the drying window, then paint. Skipping that order is how good jobs fail early.
— Thinus
How Cape Apex Painters handles damp before it paints
Cape Apex Painters exists for the reader who’s done the diagnosis in this guide and now wants someone to fix it properly, not just paint over it. That’s the real gap in most quotes: painters who coat a damp wall without addressing why it’s damp in the first place, leaving you with the same failure in a year.

An on-site assessment comes first, checking moisture levels, salt contamination, and the external defects actually causing the problem before any prep work starts. From there, the in-house team handles salt-resistant replastering, correct drying time, and a coating system chosen for Cape Town’s coastal salt air, UV exposure, and winter rain, not a generic finish pulled off a shelf. Because the crews are full-time staff rather than subcontractors, the same team that diagnoses the wall is the one that preps and paints it, across Cape Town, the Cape Winelands, and the Overberg.
If a wall in your home or building fits any of the warning signs covered above, request an on-site assessment and get a treatment plan built around what’s actually causing the damp.
Sources
See RICS damp guidance, the Property Care Association code of practice, Building Science on moisture control, and Energy Saving Trust.
- Damp and mould | RICS consumer guides
- Control of dampness in buildings — Property Care Association, Jan 2023