
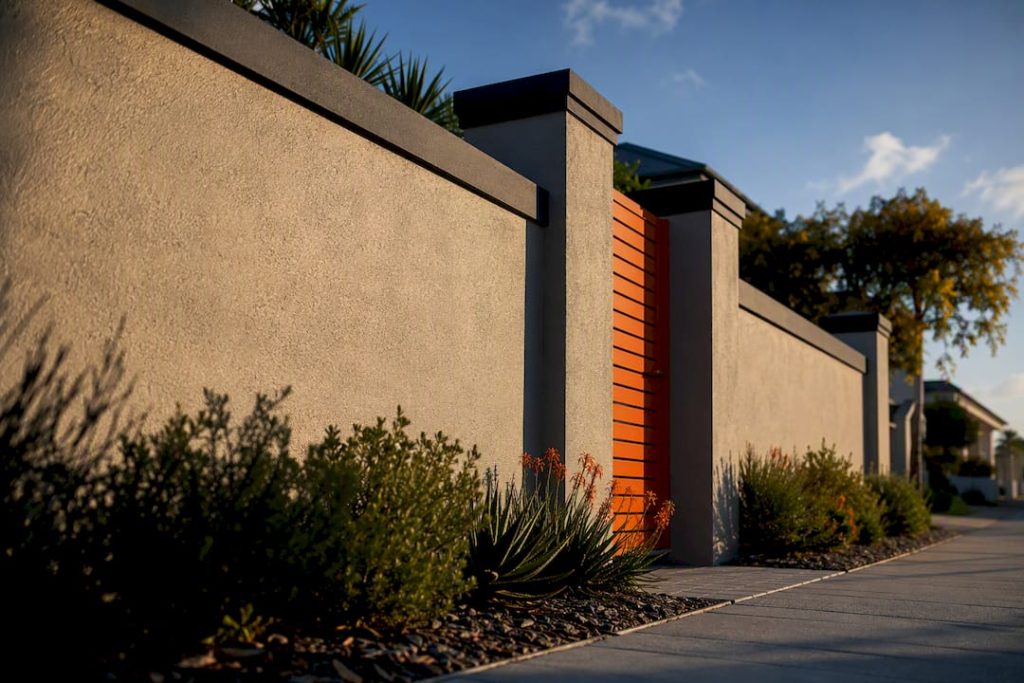
The strongest boundary wall painting ideas follow one formula: a neutral base colour, one textured or material accent, and a dark trim to define the edges. That combination works better than any single-colour approach, but it only lasts if the wall is properly prepared and coated with a silicone-based, high-build masonry paint. Below are eight ways to apply that formula, plus the prep and product details that keep it looking good for years, not months.
TL;DR:
- Proper surface preparation, including cleaning, filling cracks, and priming, is crucial to prevent early paint failure on boundary walls.
- Silicone-based, high-build masonry paint significantly reduces water absorption and extends the life of exterior wall finishes.
- Textured finishes, stone accents, and timber battens add durability and architectural interest but require specific maintenance and application techniques.
- Using a dual-tone or multi-tone palette with dark trims enhances visual sharpness and avoids clashing with neighboring walls or house colors.
- Testing colors, textures, and trims on small sections before full application prevents costly mistakes and ensures desired visual impact.
Table of Contents
- Quick checklist before you pick a design
- Eight creative boundary wall painting ideas with how-to notes
- Getting the surface right before you pick up a brush
- How long each finish actually lasts
- Why proper diagnostics matter more than the paint colour
- What I’d actually do differently
- How Cape Apex Painters gets your boundary wall done right
- Sources
Quick checklist before you pick a design
Before you fall in love with a colour swatch or a Pinterest mural, walk your wall and answer a few practical questions. What people see from the street matters more than what you see standing next to it, so check sightlines from the pavement and from your own front door.
- Measure the wall’s length and height, then check what’s visible from the street versus the garden side.
- Note sun exposure and wind direction. North-facing and coastal walls take more UV and salt spray than sheltered sections.
- Look at your neighbours’ wall colours and your own house facade so the new scheme doesn’t clash.
- Be honest about maintenance appetite. Textured renders and timber look great but need more upkeep than flat masonry paint.
- Set a budget range before you start pricing paint and cladding, since material-heavy ideas can double the cost of a straightforward repaint.
Eight creative boundary wall painting ideas with how-to notes
These ideas work individually or stacked together, but the best results usually come from picking one accent, not three.
1. Textured render or sand-based finish
A textured render panel breaks up a long, flat run of wall and hides minor surface imperfections that flat paint would expose. Use it on one section, not the whole boundary, and pair it with a warm greige or putty-coloured base. Textured finishes read differently in direct sun than in shade, so view a sample panel at midday and again in late afternoon before committing.
2. Dual-tone or three-tone palette
This is the framework behind most of the ideas here: a primary neutral for the bulk of the wall, a textured material band for depth, and a dark trim along the cap or pillars to sharpen the whole thing visually. Homes & Gardens points to beige-and-brown, grey-and-green, and white-and-off-white as combinations that turn up again and again in boundary wall projects, precisely because the pairings avoid clashing warm and cool tones in the same plane.
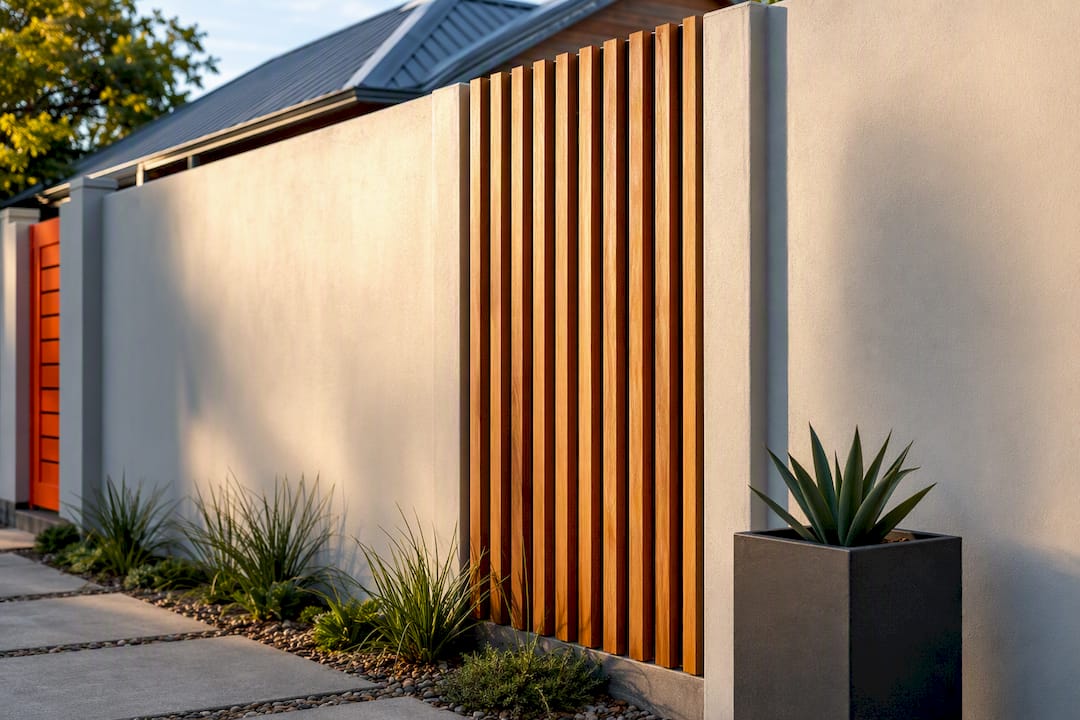
3. Timber slat or composite batten feature
Vertical timber battens set into or fixed onto a painted wall add architectural interest without cladding the entire boundary. ModularWalls shows this as one of the more common features on modern boundary designs, and it works because it interrupts a long flat surface at eye level, where people actually look. Composite battens cost more upfront but skip the recoating that timber needs every few years.
4. Stone cladding accents
A stone-clad pillar or a low stone-faced section at the base of the wall grounds a painted boundary and adds real texture without full material replacement. Pair it with a pale, warm neutral paint above; stone reads best against something quiet rather than another bold colour.
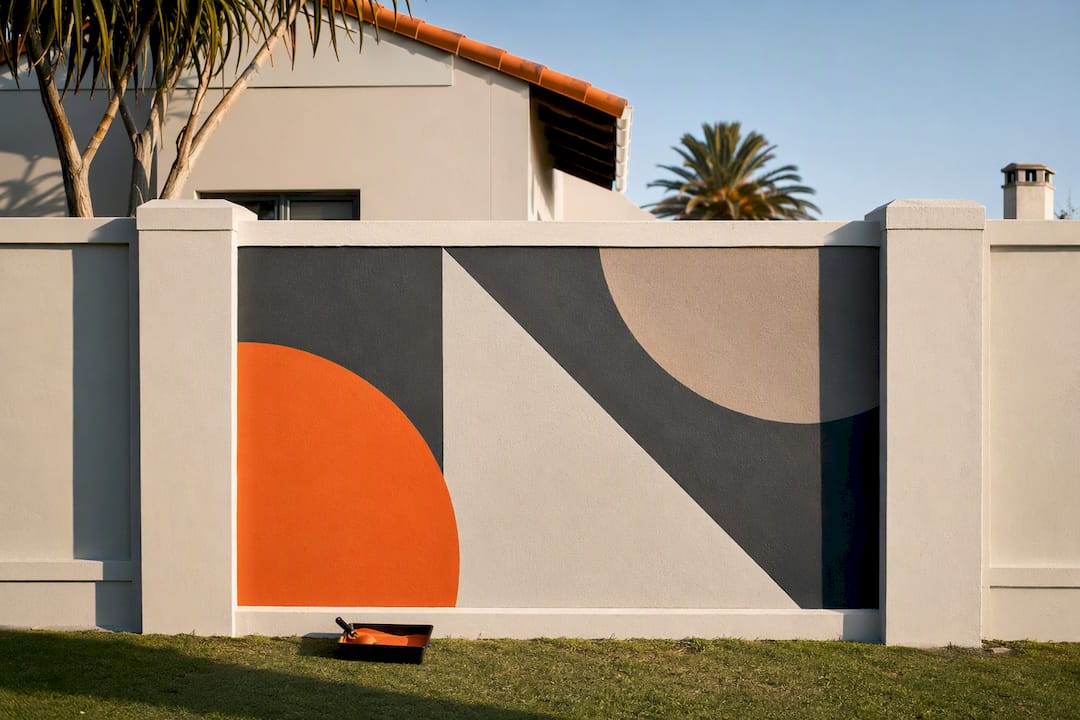
5. Mural or motif panel
A single painted mural panel, sized to one clear section of wall rather than sprawled across the whole run, gives you a strong focal point without overwhelming the street view. Keep the subject simple, botanical patterns, geometric shapes, or a single bold motif work better at a distance than intricate scenes. Seal it with a UV-stable clear topcoat, since mural pigments fade faster than standard masonry paint under direct sun.
6. Vertical garden or planter-integrated sections
Built-in planters or trellis panels set into the wall need paint that can handle occasional soil contact and moisture wicking. Stick to a fully cured masonry paint on those sections, and leave a painted margin around any planter box so damp doesn’t creep sideways into the rest of the finish.
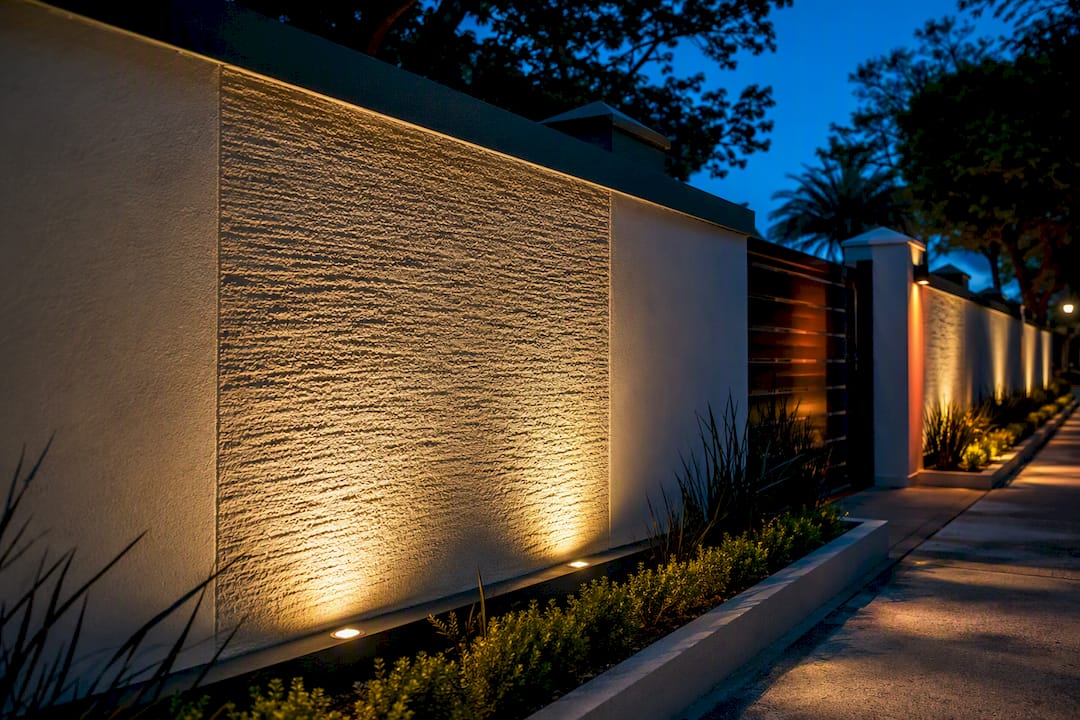
7. Integrated lighting to accent texture
Up-lighters or grazing lights washed across a textured or clad section make the wall read completely differently after dark. Futurelight recommends base-up lighting specifically for textured surfaces because grazing light exaggerates shadow and depth, which flat, evenly lit paint can’t do on its own. It also does double duty for nighttime security.
8. Dark, moody wall as a planting backdrop
Charcoal or near-black paint behind climbing plants, metal gates, or sculptural planting makes greenery pop in a way pale walls simply don’t. A matte or low-sheen finish suits this look better than satin, which can highlight dust and glare in strong sun. Dark colours do show dust and cobwebs faster, so factor that into your maintenance plan.
Pro Tip: Test your trim colour on the actual pillars or cap, not a paint chip indoors. Dark trims that look sharp on a swatch can read almost black in shade and washed out in full sun.
Getting the surface right before you pick up a brush
Skip this step and even the best colour scheme will fail early. The sequence matters: clean the wall first, whether with a pressure washer or a stiff brush and detergent, then apply a fungicidal wash if you see any green or black mould staining. Fill cracks with an exterior-grade filler, sand back rough patches, and prime with a masonry primer before any topcoat goes on.
- Clean thoroughly (pressure wash or detergent scrub) and let the wall dry fully.
- Treat mould or algae with a fungicidal wash before filling or painting.
- Fill cracks and holes with exterior filler, then sand smooth.
- Prime bare or porous masonry before applying your topcoat.
Silicone-based, high-build masonry paints are worth the extra cost in exposed conditions because they stay breathable while resisting water penetration. Independent testing on advanced masonry coatings shows some formulations cut water absorption by up to 96% compared with standard paint, which matters enormously on a wall that takes direct rain and coastal wind. Masonry paint suits brick, pebbledash, stucco, cement, concrete, and stone alike, and comes in smooth or textured finishes depending on the look you’re after. Always brush out a test patch and check it in full sun before committing to the whole wall.
How long each finish actually lasts
Different materials age differently, and knowing that upfront saves you from picking something you’ll resent maintaining.
- Textured render: durable and forgiving of minor surface flaws, but needs occasional recoating and can trap grime in the texture.
- Stone cladding: extremely long-lived and low-maintenance, though repairs to individual stones are harder than a simple repaint.
- Timber slats: visually striking but need re-oiling or repainting every two to four years depending on sun exposure.
- Painted plaster or masonry: the most cost-effective option and easiest to touch up, provided the base coat was applied correctly.
Watch for blistering, chalking, or white powdery efflorescence, all early signs of moisture trapped behind the paint film. Catch them early and a localised strip-and-recoat solves it; ignore them and you’re looking at a full repaint within a year or two. A sensible maintenance rhythm is an annual wash-down, a check of trims and sealant joints every year, and a touch-up coat on high-exposure sections every three to five years.
Why proper diagnostics matter more than the paint colour
Most boundary wall failures trace back to skipped prep, not the wrong colour choice. Paint applied over damp masonry or unfilled cracks blisters and peels within a season, no matter how good the product is. Capeapexpainters approaches every boundary wall as a diagnostic job first: checking for rising damp, testing crack depth, and identifying whether previous coatings failed because of moisture or simply old age, before any new paint goes on.
- In-person assessment before quoting, so damp or structural issues get flagged early.
- A full-time in-house painting team, rather than rotating subcontractors, for consistent surface prep and application standards.
- Damp-proofing and remediation handled as part of the same project when needed, not treated as a separate afterthought.
A confident DIYer can handle a small, dry, easily accessible section. Anything showing damp staining, extensive cracking, or a wall taller than reach-from-ladder territory is worth getting assessed by a professional first.
What I’d actually do differently
If you take one thing from this, test a single panel before you commit to the whole wall, colours and textures both read differently at scale than they do on a sample board. A darker trim and one textured section usually deliver more visual impact than repainting the entire boundary a bold colour.
The most common mistake I see isn’t a bad colour choice, it’s skipping primer or reaching for leftover interior emulsion because it’s already in the garage. Interior paint has no weatherproofing and fails outdoors within months. The second mistake is matching the boundary wall exactly to the house colour, which flattens the whole property visually instead of giving it depth. Contrast, done deliberately, is what makes a boundary wall look designed rather than default.
— Thinus
How Cape Apex Painters gets your boundary wall done right
Capeapexpainters is the practical route to the finish this article describes, without you having to source render specialists, timber suppliers, and a separate painter to tie it all together. Our in-house team handles surface diagnostics, damp remediation, and the actual painting as one project, so the prep that makes silicone masonry paint last isn’t left to chance.

We cover exterior boundary wall painting, damp-proofing, and surface remediation across residential, estate, and commercial properties, and every job starts with an on-site assessment rather than a guess over the phone. That’s where we spot the damp patch or hairline crack that would undo a fresh coat within a year. If your boundary wall is ready for a three-tone makeover or just needs its old paint diagnosed properly, book an assessment with Cape Apex Painters and get a quotation based on what your wall actually needs.
Sources
For technical detail on priming and masonry coatings, see Plascon’s guide to preparing exterior walls. For colour and texture inspiration, Homes & Gardens’ boundary wall roundup and ModularWalls’ feature ideas are both worth a look, along with One Day Doors & Closets’ design trend notes for pairing exterior colours with architectural features.